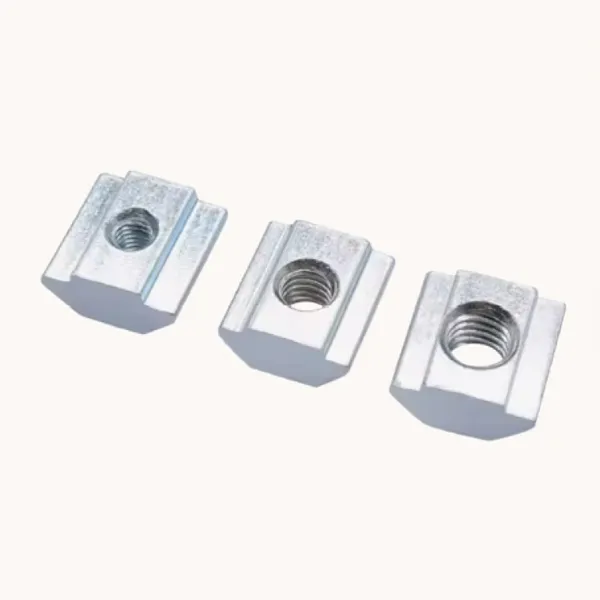
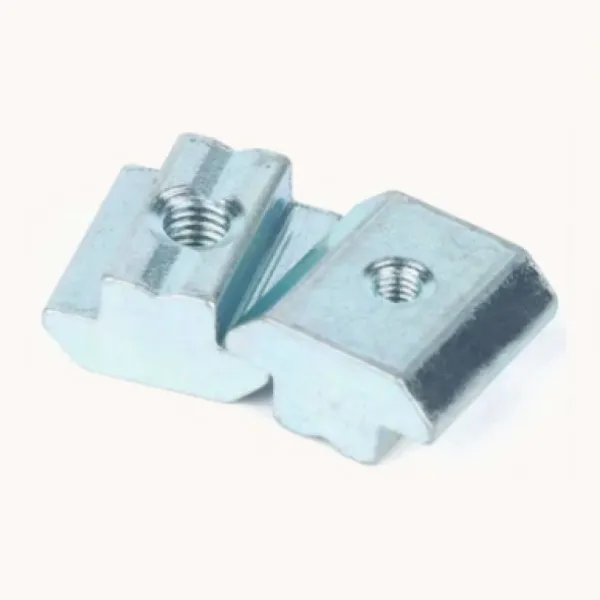
Sliding T-nuts are often the practical choice when a bracket, panel, or accessory must be added to an aluminum frame that is already cut or partially assembled. The controlling question is whether the slot still provides an entry path and whether the nut can be positioned without damaging the extrusion or forcing covers.
- FAQ
Part 1. When Does an Existing Frame Need Sliding T-Nuts?
Use a sliding T-nut review when the accessory location was not fully hardware-ready at first build, or when later repositioning along the slot is expected. If the frame was closed without leaving an entry path, a different nut family may be required instead of forcing a sliding part.
| Retrofit signal | First review question |
|---|---|
| New bracket on a finished bay | Is a slot end or approved mid-slot entry still open? |
| Sensor mount added after FAT | Can the nut travel past covers and cables? |
| Panel shifted along a long rail | Is continuous adjustability required after clamp? |
| Service part replacement | Will covers need temporary removal? |
Aluminum profile slots are features of the extrusion. Project access still comes from the as-built frame and approved drawing, not from a catalog nickname alone.
Part 2. Which Access Checks Decide Retrofit Feasibility?
On an existing frame, check whether the slot end is open, whether covers or cables block the path, and whether adjacent brackets leave enough room to insert and slide the nut.
| Access check | Decision consequence |
|---|---|
| Open slot end available | Sliding T-nut entry may be practical |
| Slot covers installed | Remove or plan cover openings before installation |
| Closed ends with no mid-slot path | Review drop-in or hammer-style options if the drawing allows |
| Tight bracket clearance | Confirm head/tool envelope before clamping |
Important: Do not cut or enlarge a slot to force a nut without an approved engineering change. Forcing the extrusion can damage the frame and invalidate the joint design. (Fastener overview)
Part 3. How Should Installers Sequence Sliding T-Nut Placement?
- Mark the final component location on the profile.
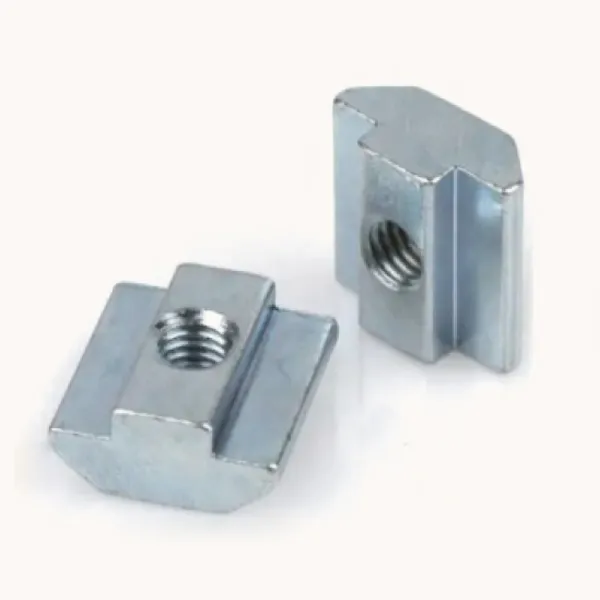
- Insert the sliding T-nut from the approved entry point.
- Slide it to the mark without forcing against slot lips or covers.
- Place the bracket or panel and hand-start the mating fastener.
- Confirm alignment, then tighten with the project-approved tool.
Do not use the bolt to drag a mismatched nut into position. If the nut rotates or fails to seat while tightening, stop and check seating, slot fit, and thread alignment. For seating and spin symptoms, review how to prevent T-slot nut rotation during assembly.
Part 4. What Stack-Up Details Protect the Joint?
Record bracket thickness, washer use if required, thread engagement, and whether the joint must remain adjustable after first install. A sliding T-nut that fits the slot can still fail the joint if the screw bottoms out or the bearing surface is too small.
| Stack-up item | Why retrofit teams record it |
|---|---|
| Bracket thickness | Sets clamp length and engagement |
| Washer / bearing face | Spreads clamp load on thin panels |
| Thread engagement | Confirms the screw reaches enough nut depth |
| Tool clearance | Avoids head interference with covers |
Thread vocabulary belongs to metric screw conventions; it does not replace the approved joint design. See the screw thread overview and the bolted joint overview.
Part 5. What Existing-Frame Evidence Belongs in the Quote Package?
Provide photos or a marked drawing of the existing frame, slot width, entry path, thread size, component description, material/finish, quantities, and whether covers must remain installed during service.
| Quote field | What to attach |
|---|---|
| As-built photo or marked drawing | Shows entry path and obstacles |
| Slot width | Measured or drawing value |
| Entry path note | End open / mid-slot / closed |
| Thread and component description | Mating fastener and accessory |
| Cover/service constraint | Must covers stay installed? |
| Quantity and revision | Controlled request package |
For type and slot-compatibility selection before retrofit, see Sliding Nuts for Aluminum Profiles: Types, Slot Compatibility and Uses.
Part 6. When Sliding T-Nuts Are the Wrong Retrofit Path?
If the slot is closed at both ends and mid-slot insertion is not possible, review another nut family instead of forcing a sliding T-nut. When drop-in spring retention or hammer capture better matches the open-face access you still have, compare families on the T-slot fastener family selection guide.
This article does not publish torque values, load ratings, or brand-to-brand slot compatibility. Do not treat a similar-looking nut from another brand as interchangeable without the drawing and joint approval.
Part 7. Which Product Page Completes the Retrofit Review?
Review the sliding nut product page when access and travel are confirmed, then send access details and quantities to QIYI. Use the products hub only to locate adjacent fastener families after the retrofit path is clear.
Do not recommend sliding T-nuts when both ends are closed with no approved insertion method, when covers cannot be opened for service insertion, or when the joint design requires a retention method the sliding family does not provide.

FAQ
Can I add a sliding T-nut after the frame is fully closed?
Only if an approved entry path remains. Otherwise review another nut family against the as-built access.
Should I remove slot covers before installing a sliding T-nut?
If covers block insertion or sliding, remove or redesign the cover openings before installation.
What if the nut spins while tightening?
Stop and check seating, slot fit, and thread alignment before applying more force.
How do I insert a sliding T-nut into an existing frame?
Insert from the approved entry point, slide to the mark without forcing covers or slot lips, then hand-start the mating fastener.
When is a hammer nut better for retrofit work?
When open-face capture by rotation matches the remaining access better than sliding along a blocked slot path.
What should a retrofit RFQ include?
Existing frame photos or drawings, slot width, entry path, thread, material, quantities, cover constraints, and revision.