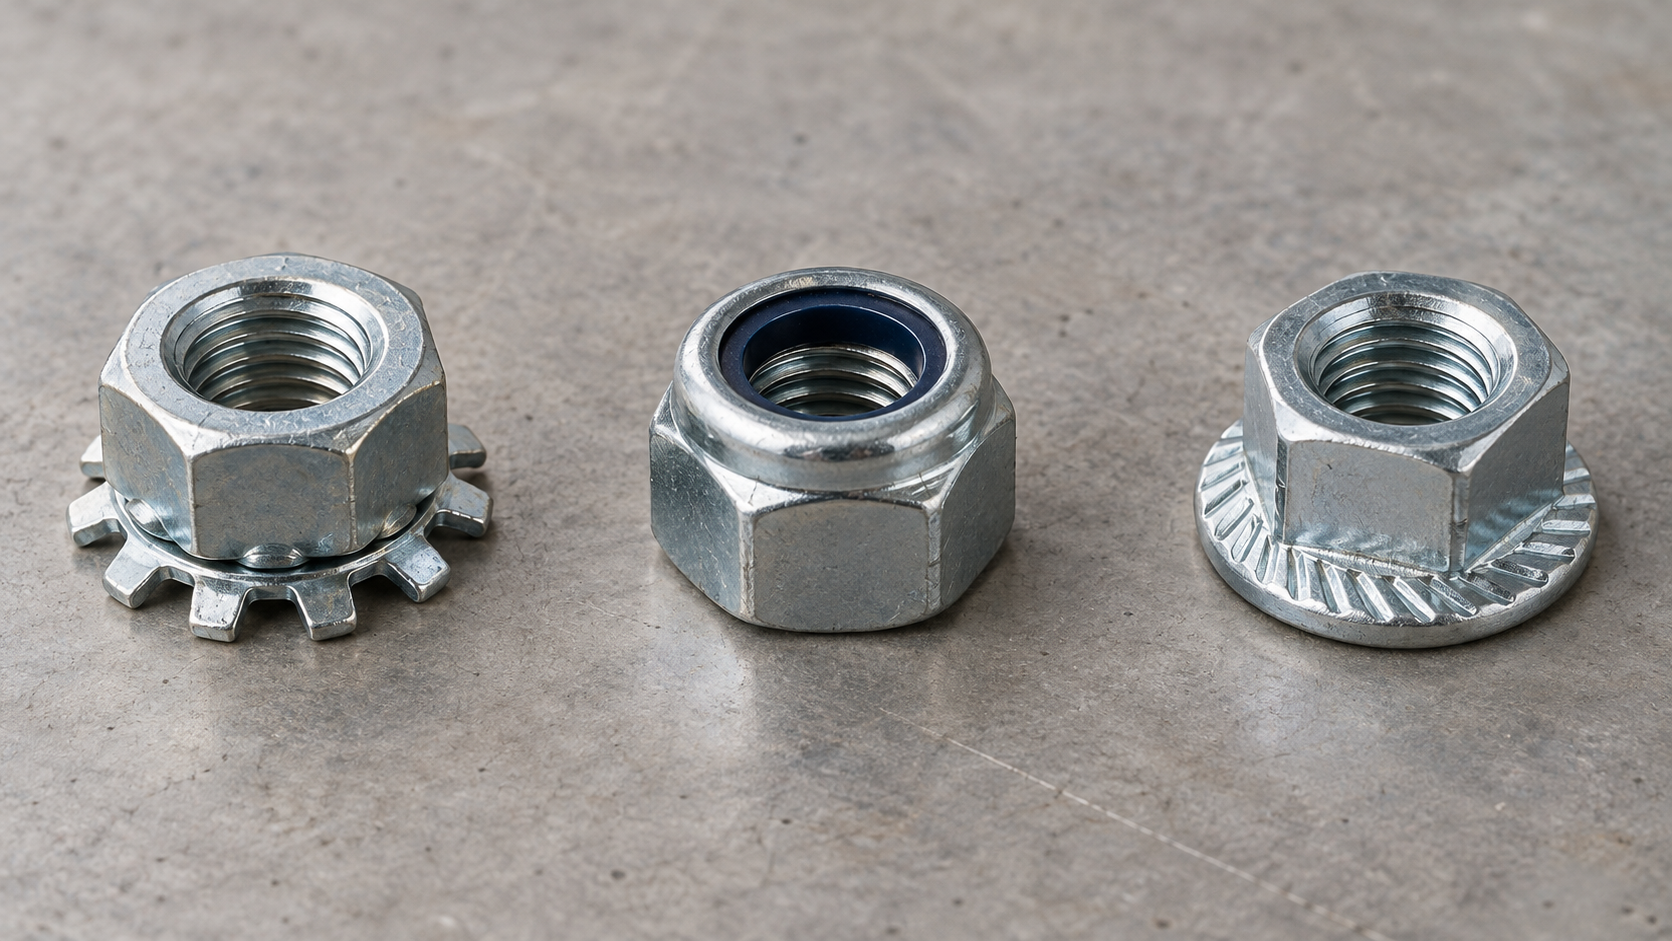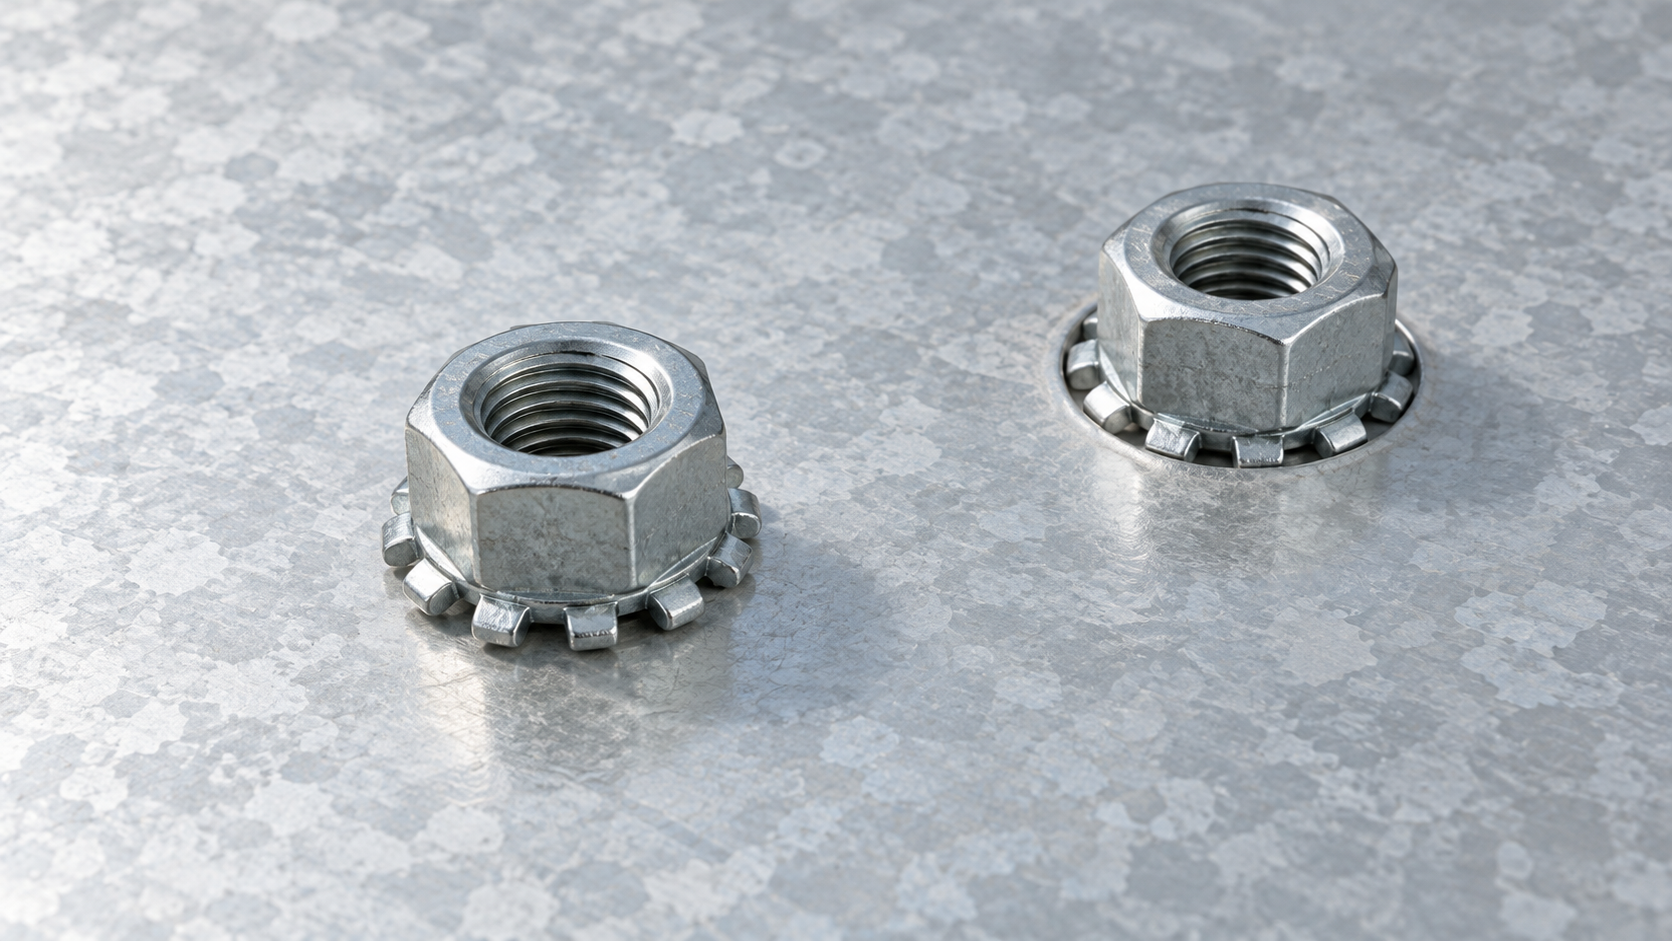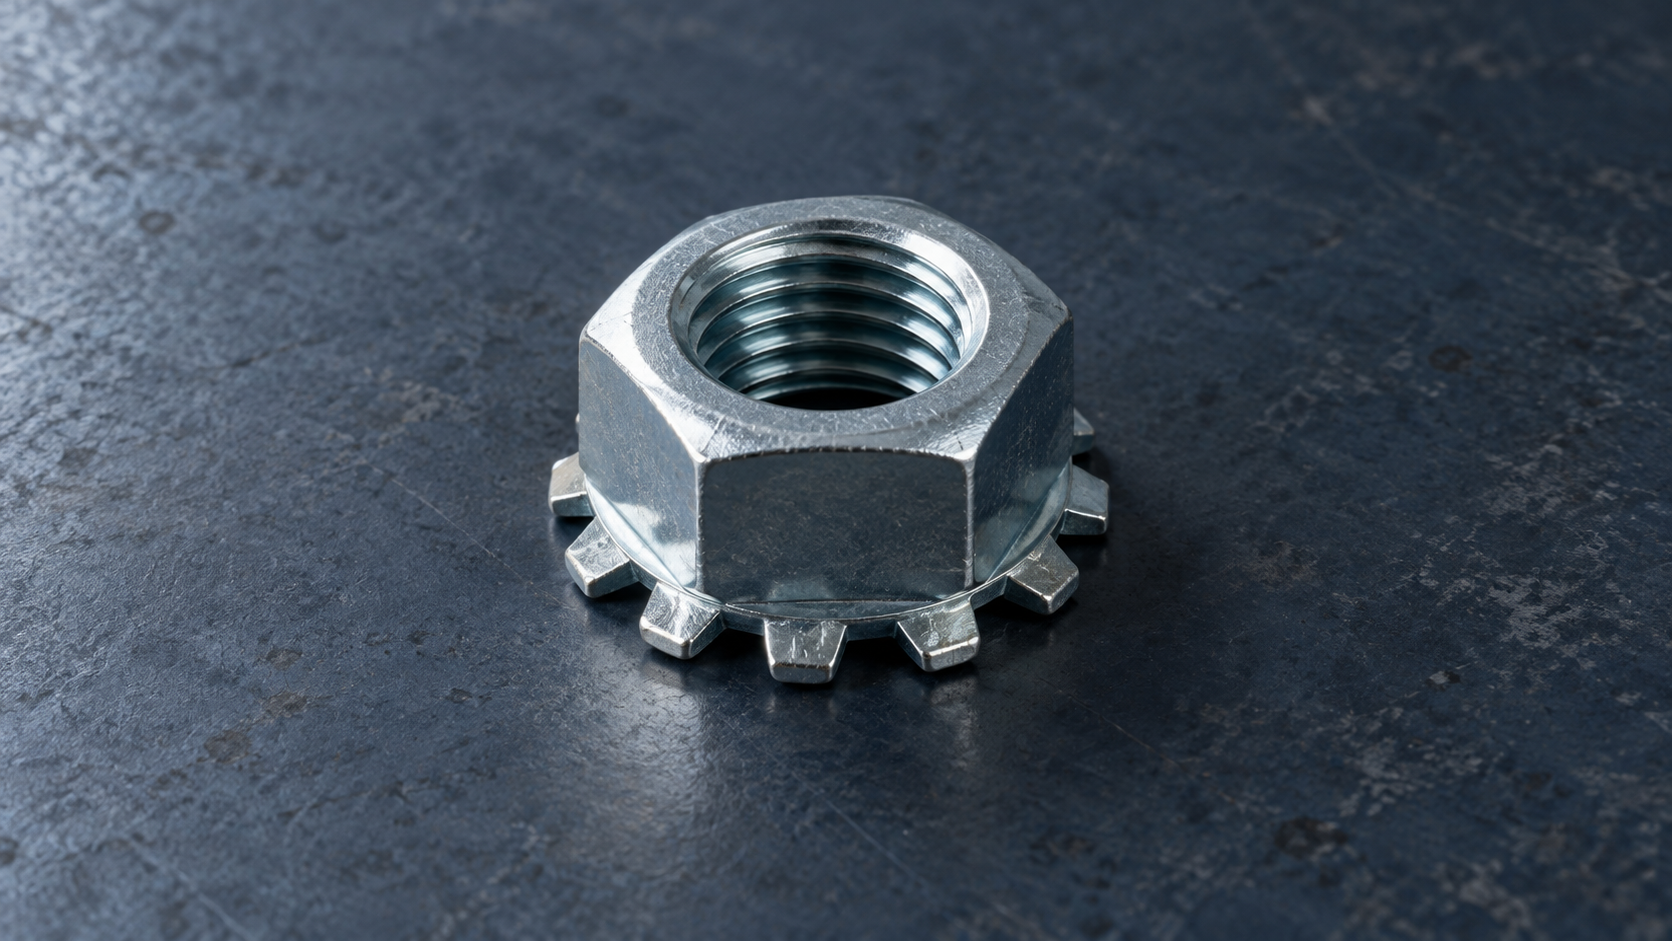
When Maya, a fixture engineer in Suzhou, encountered a bracket that shifted during a short vibration run, she re-tightened the screw and restarted the test. The bracket moved again within minutes. A drawing review showed the fastener was sound; the real problem was a smooth insert used where the panel required a four-prong seat and a controlled installation force. The reversal was a selection and process issue, not simply a bad product.
Summary: A threaded insert must match its base material, thread, geometry, and load path. Four-prong designs are intended to bite into wood, while extrusion inserts must suit the slot and remain captive during assembly. ISO 898-2 addresses mechanical properties for nuts, but it does not approve a particular installation design; verify the assembly with the drawing, supplier data, and a representative pull-out or torque check.
How a T Nut transfers load through an assembly?
A T-nut creates a fixed threaded point in a material that cannot accept a conventional tapped hole. Its flange or prongs spreads reaction force over the parent material while the internal thread receives a machine screw. The load path still depends on edge distance, panel thickness, screw engagement, and the direction of pull; the insert does not make an undersized substrate stronger.
Thread, shoulder, and material are one specification. Start with the screw size—such as M6 or M8—and confirm the matching thread form, pitch, and usable engagement. Then check the barrel length and flange diameter against the panel or extrusion. For a production release, record the material and property requirements alongside the drawing; ISO 898-2 property classes describe mechanical requirements for many carbon-steel and alloy-steel nuts, not the pull-out strength of the complete joint.
Use a torque-controlled driver for repeatable tightening and a representative pull-out or proof-load test for the joint. A test result is meaningful only when the same panel material, pilot hole, screw, washer, and installation sequence are used as in production.
When t nuts for wood need controlled seating?
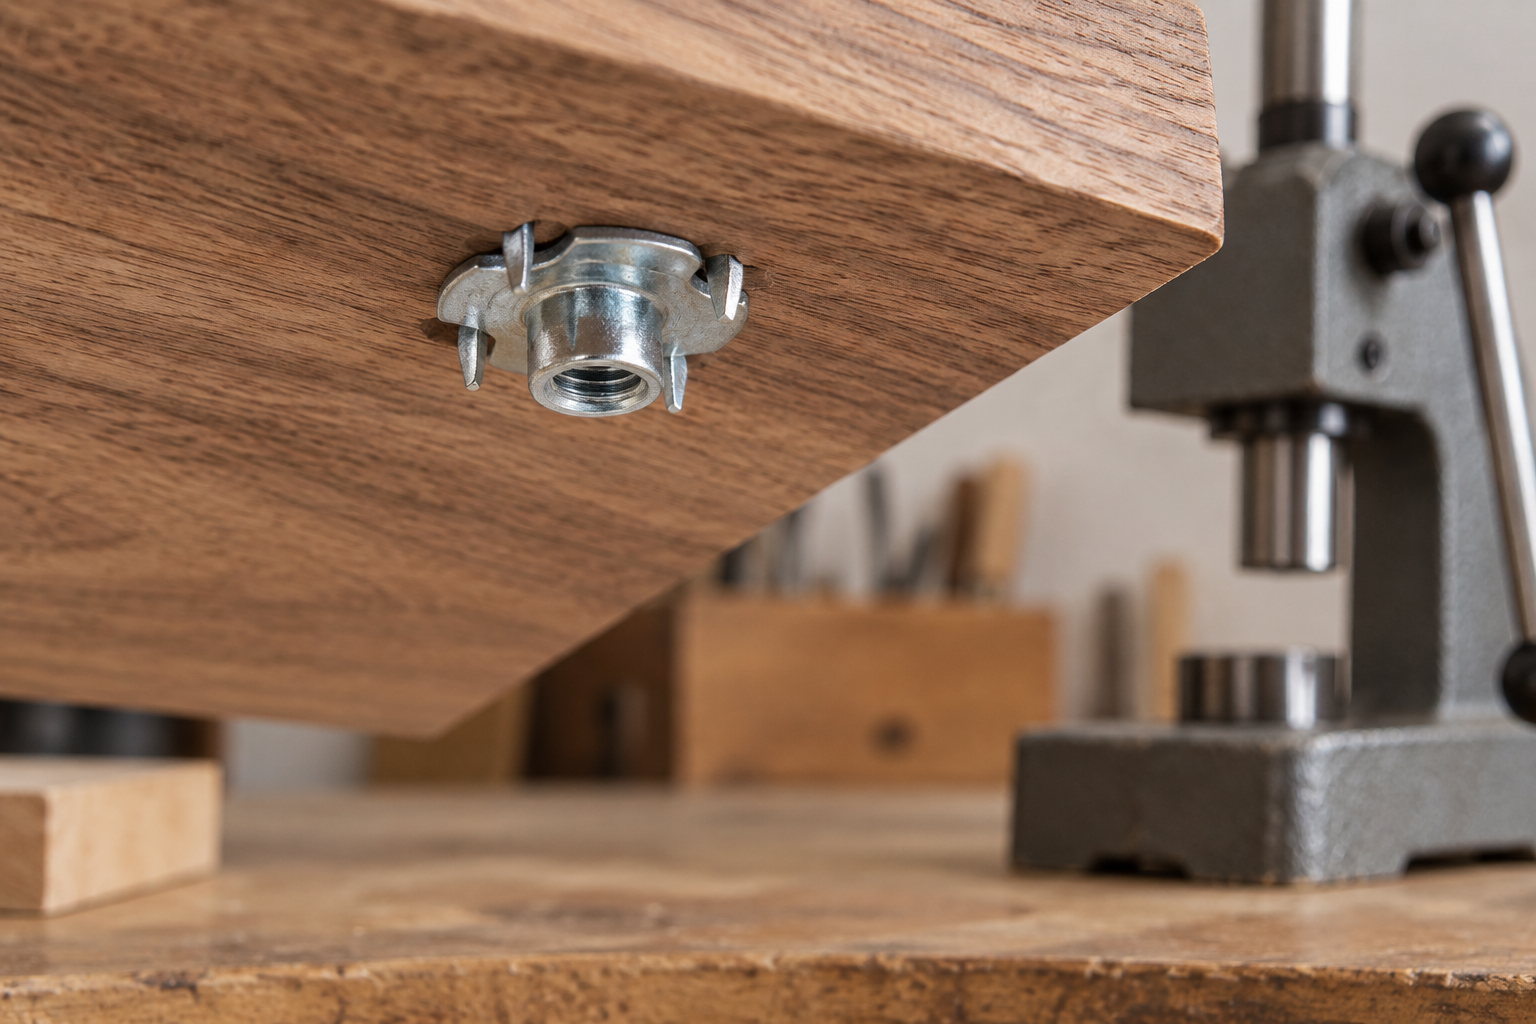
T nuts for wood are commonly selected when a panel needs a removable machine-screw connection. Four-prong or claw-style flanges are pressed into a prepared hole so the prongs resist rotation as the screw is tightened. The correct hole diameter is design-specific: it must let the barrel pass without leaving a loose fit, while preserving enough surrounding wood for the expected load.
Pressing is usually more repeatable than striking
For plywood, hardwood, and composite panels, support the back face and press the insert squarely with an arbor press or controlled fixture where the assembly permits. If a hammer is used, protect the flange and use light, centered blows; a bent flange can leave a false sense of seating and damage the fibers around the hole. Validate the method with a pull-out test and a rotation check on the actual panel batch.
Panel thickness matters as much as thread size. A barrel that bottoms out before the flange is flush can split a thin panel; one that is too short can leave insufficient thread engagement. Document pilot-hole diameter, seating depth, and the acceptance limit for flange flushness rather than relying on a generic “one size fits all” instruction.
How t slot nuts align inside an extrusion?
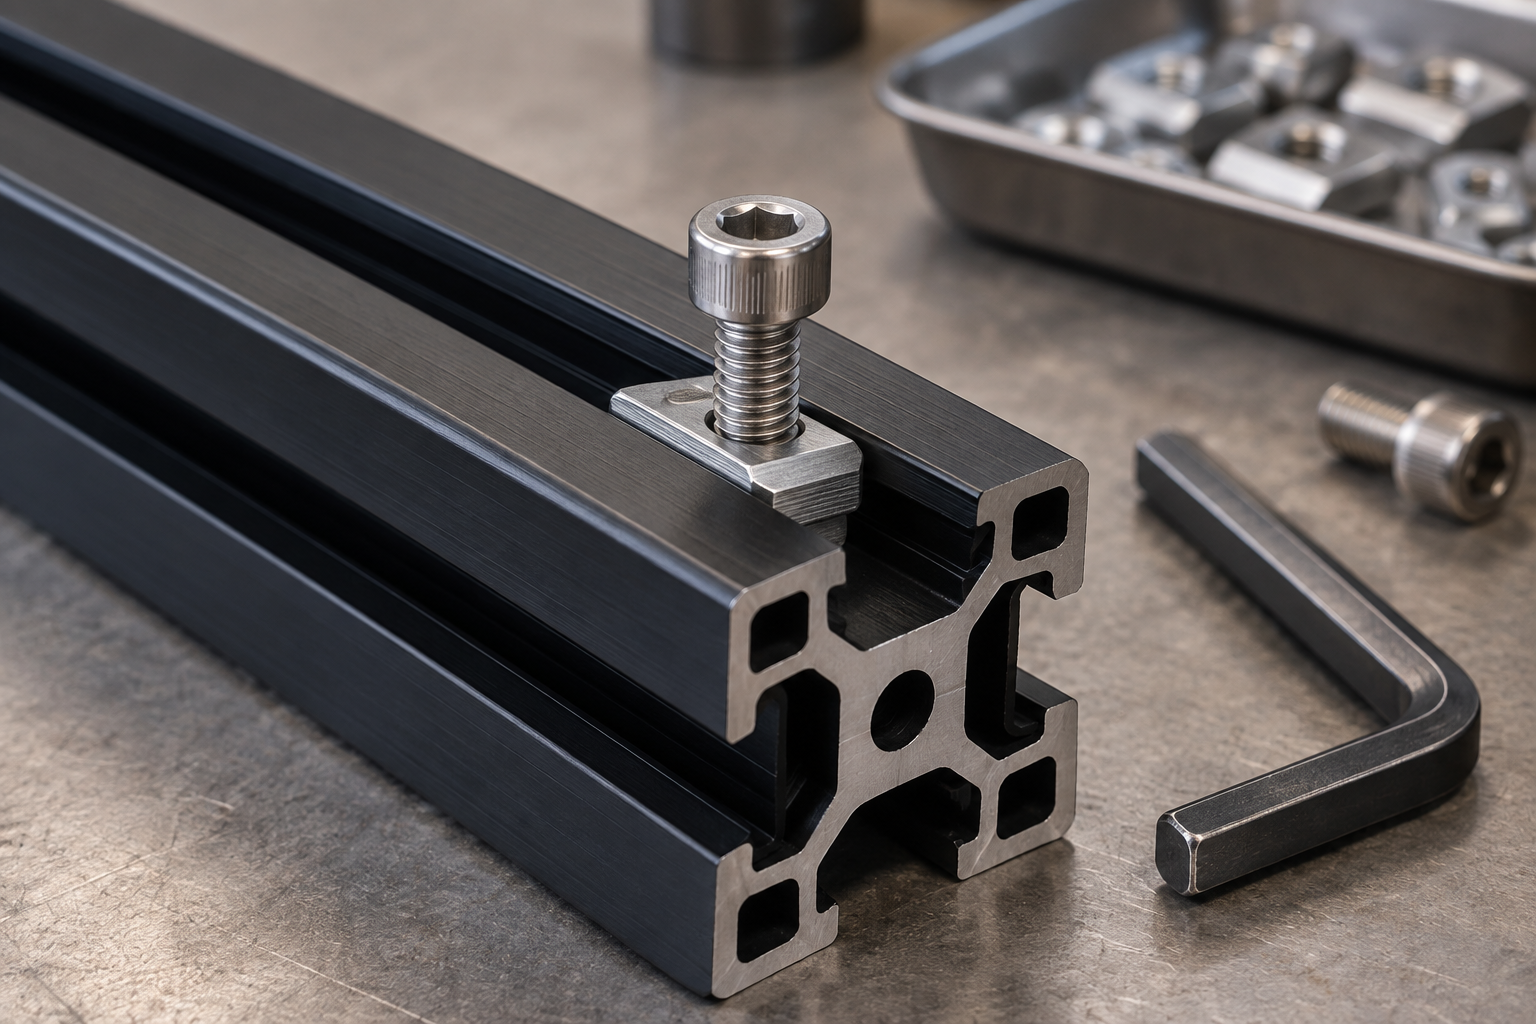
T slot nuts provide a threaded anchor inside the channel of an aluminum extrusion. Depending on the profile and access, an insert may slide in from an open end, drop into the slot, or rotate into position under the screw head. The slot width, neck geometry, and nut thickness must match the profile; a similar-looking insert can bind, spin, or sit too low for the screw to engage.
Captive behavior affects assembly time
For a frame that is frequently reconfigured, check whether the nut remains captive when the screw is loosened. A spring or ball feature can help positioning, but it does not replace a compatibility check. Measure the profile’s slot opening and use the supplier’s drawing for the recommended screw size and tightening limits. ISO 2320 is relevant when a prevailing-torque feature is specified, because it addresses the performance of prevailing-torque type all-metal nuts; it does not certify every slot insert or the whole frame.
Record the installation path in the work instruction. If the channel is already closed, a sliding insert may be impractical, while a drop-in or roll-in style can reduce disassembly. For a direct comparison of channel inserts, see t slot nuts for extrusion profiles. A related hammer-nut installation example can help teams distinguish a positioning method from a load rating.
Which T Nut dimensions should a buyer verify?
Dimension control prevents the most expensive kind of fastener error: a part that appears to fit but fails during assembly or service. Confirm thread size and pitch, barrel or body length, flange diameter, prong or neck geometry, material and finish, and the permissible panel or profile range. For a T Nut, the controlled drawing should also state the approved substrate or profile family. For incoming inspection, use a calibrated thread gauge where applicable and a caliper for flange and body dimensions; compare the measured values with the controlled supplier drawing.
| Application | Primary dimensions | Acceptance question | Useful verification |
|---|---|---|---|
| Wood panel | Thread, barrel length, flange diameter, prong height | Does the flange seat without splitting or protruding? | Pilot-hole check, seating inspection, pull-out and rotation test |
| Aluminum extrusion | Slot opening, neck width, nut thickness, thread | Does the insert travel and remain aligned in the channel? | Profile fit check, screw engagement check, torque verification |
| Serviceable fixture | Thread engagement, access clearance, finish | Can the connection be removed without damaging the substrate? | Assembly-cycle trial and visual inspection after removal |
| Dimension or feature | If underspecified | Procurement consequence |
|---|---|---|
| Thread size and pitch | Cross-threading, low engagement, or incompatible screws | Line stoppage and mixed hardware inventory |
| Body length | Bottoming, protrusion, or inadequate grip | Rework and possible substrate damage |
| Flange or neck geometry | Rotation, poor seating, or channel binding | Longer assembly time and service complaints |
| Material and finish | Unexpected corrosion or galling in the intended environment | Shorter service life and unverified claims |
How to select a T Nut and document the installation?
- Define the joint. State the substrate or profile, load direction, service environment, access constraints, and whether the connection will be removed repeatedly.
- Match the geometry. Confirm hole or slot dimensions, usable material thickness, flange clearance, thread engagement, and the installation path on the controlled drawing.
- Specify the performance evidence. Ask for material, finish, dimensional tolerances, and applicable test data. Treat a test method or property class as evidence about a defined characteristic—not as a blanket product certification.
- Run a representative trial. Use the actual screw, washer, substrate batch, tool, and tightening sequence. Record torque, seating, pull-out or rotation results, and any damage after removal.
- Control the replacement part. Keep the approved drawing and revision with purchasing records, and require deviation approval before changing thread, finish, or flange geometry.
Qiyi Fastener can be considered when a project needs configurable insert dimensions, drawing-based sourcing, or application discussion; the appropriate part still depends on the buyer’s controlled specification and validation plan. Review the available fastener products against the drawing before requesting a quotation.
| Approach | Performance focus | Efficiency and maintenance | Compatibility and TCO tendency |
|---|---|---|---|
| Four-prong wood insert | Resistance to rotation and pull-out in a suitable panel | Fast installation after hole preparation; inspect the substrate after removal | Low rework when hole and seating controls are stable; unsuitable geometry raises returns |
| Sliding extrusion insert | Threaded anchoring along a matched profile slot | Useful for open-end assembly; repositioning can be efficient | Good compatibility only within the specified profile family; profile mismatch increases labor |
| Drop-in or roll-in extrusion insert | Access to a closed or assembled frame | Can reduce disassembly; verify captive behavior and alignment | May carry a higher unit-cost tendency, but can reduce teardown and service time |
| Conventional tapped hole | Direct thread in a sufficiently thick metal section | No separate insert; repair options depend on remaining material | Efficient where thickness and thread engagement are adequate; poor fit can require a redesign |
What standards and compliance checks apply to T Nut purchases?
Standards must be matched to the claim being made. ISO 898-2 covers mechanical and physical properties for specified nut property classes; ISO 2320 covers prevailing-torque behavior for applicable all-metal nuts. ASTM F563/F563M provides requirements for carbon and alloy steel nuts in the scope of that standard. None of these references, by themselves, proves that an insert will hold in a particular wood panel or aluminum profile.
Ask the supplier to identify the exact standard edition, product scope, material, property class, test condition, and any exclusions. If a destination market or customer specification requires a particular declaration, retain the supporting report and lot traceability. A test method is not the same as a product certification, and marketing a fastener as “certified” without evidence can create contractual, warranty, and compliance exposure.
Frequently Asked Questions
How does a T-slot nut work?
A T-slot nut sits inside a matched extrusion channel and provides a threaded point for a screw. The insert must match the slot opening, neck, thickness, and access method; some versions slide in from an open end while others are placed after the frame is assembled. Verify fit and screw engagement on the actual profile before production.
How do you use T-nuts on wood?
Drill the specified pilot hole, support the panel, and seat the insert squarely so the flange is flush and the prongs are embedded evenly. Pressing is often easier to control than striking, but the approved method should follow the material and supplier drawing. Check pull-out and rotation on a representative panel rather than assuming a nominal hole is sufficient.
What are the different types of T-nuts?
Common families include four-prong or claw inserts for wood, sliding inserts for open extrusion channels, drop-in or roll-in inserts for assembled frames, and variants with spring or ball retainers. They differ in flange or neck geometry, retention behavior, material, finish, and thread. Choose by substrate and installation path first, then compare strength and corrosion requirements.
Are you supposed to hammer in T-nuts?
Some pronged wood inserts can be tapped into a prepared hole, but uncontrolled impact can bend the flange or crush the surrounding fibers. Use a press or a protected, centered tool when practical, and follow the supplier’s installation instruction. A flushness check plus a pull-out or rotation check is more reliable than sound or feel alone.
References
The dependable connection is the one whose geometry, installation, and evidence are all specified together. If you need help narrowing a thread, profile, panel, or finish requirement, contact Qiyi Fastener with the controlled drawing and intended use so the sourcing discussion starts with the joint—not just the part name.