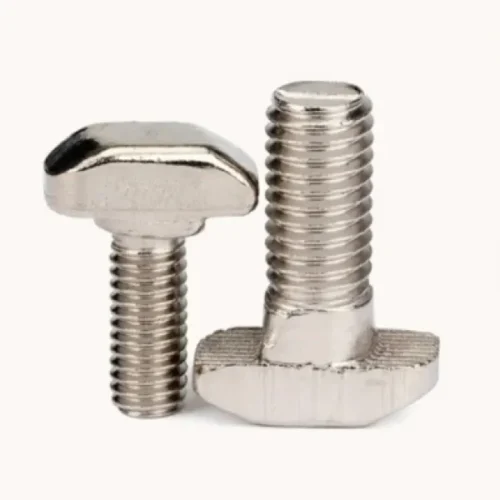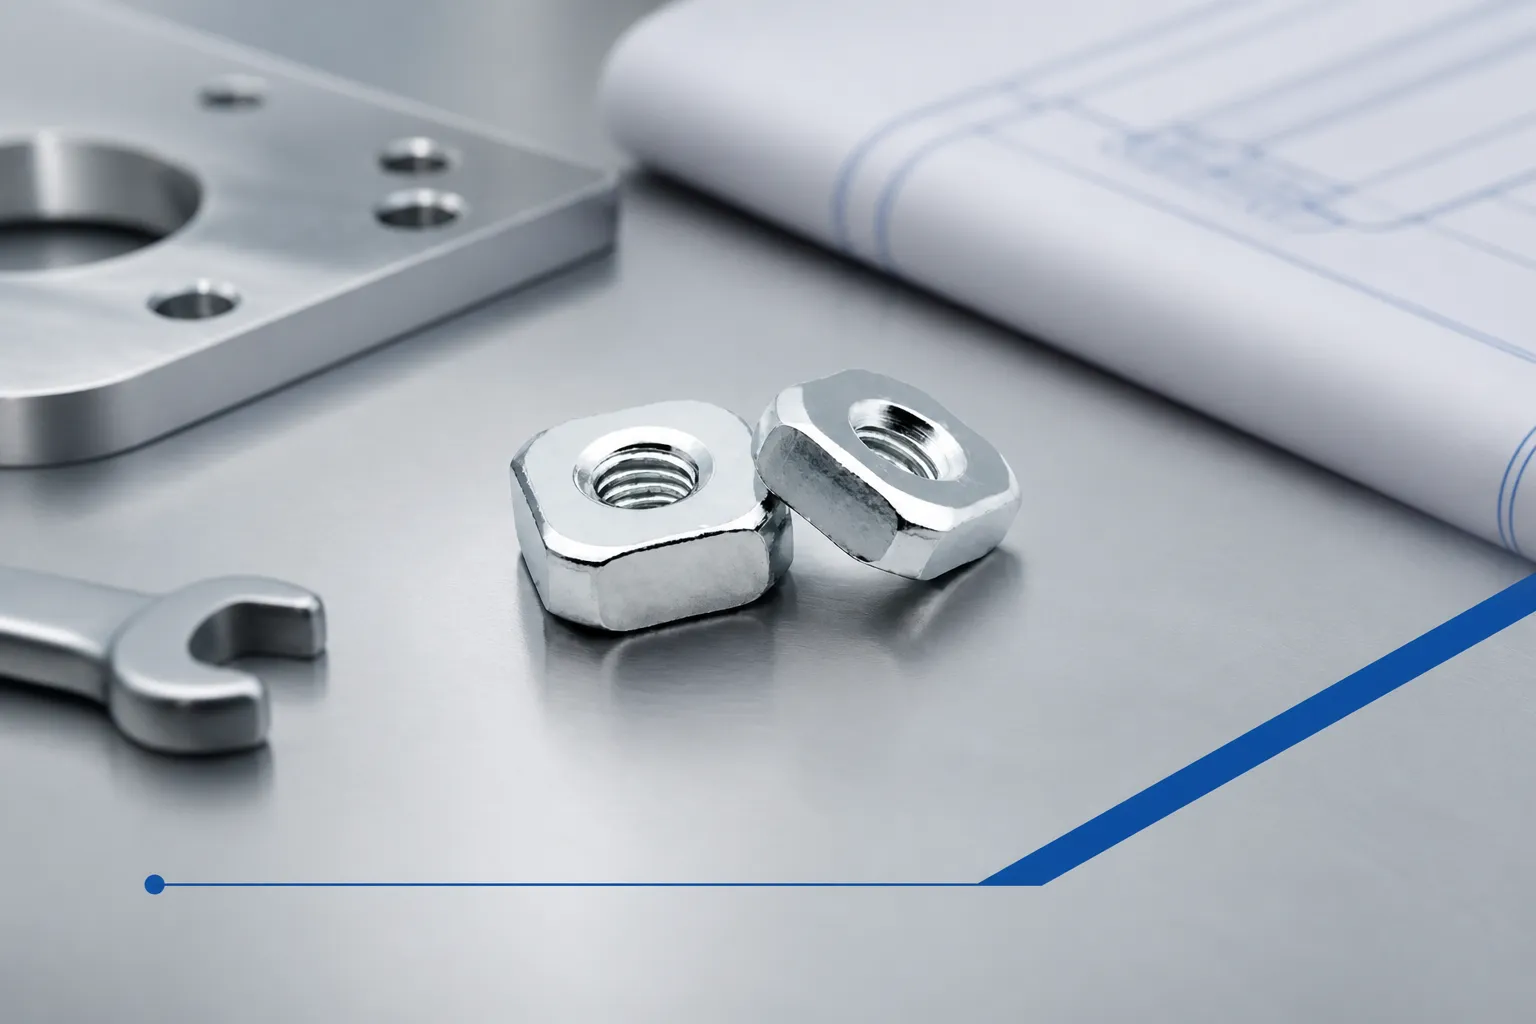
Hammer nut installation in aluminum profiles works best when the nut is aligned with the slot, rotated into its captured position before load is applied, and tightened with controlled tooling. Forcing the wrong size, skipping the rotation step, or over-torquing against the profile can damage slot edges and create unreliable frame joints.

Part 1. What causes slot damage during installation?
Most avoidable profile damage comes from mismatched hardware or poor sequence control rather than from normal hand assembly.
| Common cause | What goes wrong |
|---|---|
| Wrong slot width or nut geometry | Nut binds, chips slot edges, or sits crooked |
| Tightening before full rotation | Load is applied while the nut is not captured correctly |
| Excessive torque | Slot lips or profile surface can deform or mark |
| Sharp tools or poor access | Driver or wrench slips and scratches the extrusion |
| Reused damaged profile | A dented slot makes every later installation harder |
Start with the drawing and confirm the nut model against the slot width and thread callout before any parts reach the bench.
Part 2. What should be prepared before insertion?
| Preparation step | Purpose |
|---|---|
| Confirm slot width and profile series | Ensures the nut can enter and rotate freely |
| Check slot opening access | Verifies insertion is possible at that frame location |
| Select the correct mating bolt or screw | Prevents partial engagement or bottoming |
| Inspect the slot for burrs or prior damage | Damaged slots should not be used without rework review |
| Prepare controlled tooling | Reduces slip and over-torque risk |
If the project is still at the selection stage, review how to match hammer nuts to T-slot width and profile series before writing the work instruction.
Part 3. What is the correct insertion and rotation sequence?
Use a repeatable sequence and teach it the same way across the assembly team:
- Insert the hammer nut into the slot at the orientation shown in the approved work instruction or supplier drawing.
- Rotate the nut into its captured position before applying clamp load.
- Install the mating fastener and hand-start the thread to confirm alignment.
- Tighten gradually while checking that the nut remains seated in the slot.
- Verify that brackets, panels, or connectors sit flat without forcing the joint closed.

Do not use the bolt to drag the nut into position if the nut is not fully rotated. That habit can scar the slot and leave the joint misaligned.
Part 4. How should tightening be controlled?
T-slot frame joints usually need controlled clamp-up, not maximum torque. Use the project-approved tool and sequence rather than assuming a power tool is faster or safer.
| Practice | Why it helps |
|---|---|
| Hand-start every fastener | Confirms thread alignment before load |
| Use a calibrated driver or wrench where specified | Reduces over-torque and slip |
| Tighten in the approved pattern for the bracket or panel | Distributes load evenly |
| Stop if the nut twists back out of capture | Indicates a fit or sequence problem |
This article does not publish torque values. Those belong to the approved design, supplier documentation, or joint test record for the specific assembly.
Part 5. What belongs on the RFQ or work instruction?
| Item | Why it matters |
|---|---|
| Model code and thread | Defines the exact hammer nut and mating fastener |
| Slot width / profile series | Prevents misfit hardware from reaching assembly |
| Insertion access direction | Documents whether the nut can be installed after partial assembly |
| Tooling requirement | Hand tool, torque driver, or other approved method |
| Rework rule for damaged slots | Prevents repeated damage on the same profile length |
If the assembly team repeatedly damages slots at one location, review whether a slide-in T-nut would be a better fit for that access condition.
Part 6. Fit Boundary
Do not use hammer-nut installation guidance to justify forcing hardware into the wrong slot, skipping capture rotation, or exceeding an unapproved torque method. Those actions can damage the profile without creating a reliable joint.
Installation instructions also do not prove load capacity, vibration performance, or compliance with a customer standard. Those require the approved engineering record for the frame.
Part 7. Product recommendation and next step
Compare the assembly drawing with the hammer nut product page, then send slot width, thread, model code, and quantity requirements through the contact form if samples or a quotation are needed.

FAQs
Can I force a hammer nut into the wrong slot width?
No. Forcing mismatched hardware is a common cause of slot edge damage and unreliable joints.
Should I tighten before the nut is fully rotated?
No. The nut should be in its captured position before clamp load is applied.
Can power tools be used on T-slot hardware?
Only when the project work instruction allows it and the joint has been qualified with the same method.
What if the slot edge is already damaged?
Stop and assess rework or replacement. Reusing a damaged slot often repeats the failure.
Do slot covers change installation access?
Yes. Covers, cables, and adjacent brackets can block insertion or rotation if they are not planned in the assembly sequence.
What if the frame is partially assembled already?
Confirm whether the nut can still be inserted from the available access side. If not, review an alternate T-slot nut type.