Summary: m8 t nuts are a practical choice when a captive thread must slide along an aluminum T-slot and remain serviceable from one side. M8 denotes a nominal 8 mm metric thread; the fit and installation method determine whether the joint stays secure. Verify the profile’s slot opening, nut body height, thread class, and load direction before ordering; for blind sheet-metal access, compare a rivet nut, and for wood or composite panels, specify the correct insert nut.
M8 t nuts match the slot before they carry the load
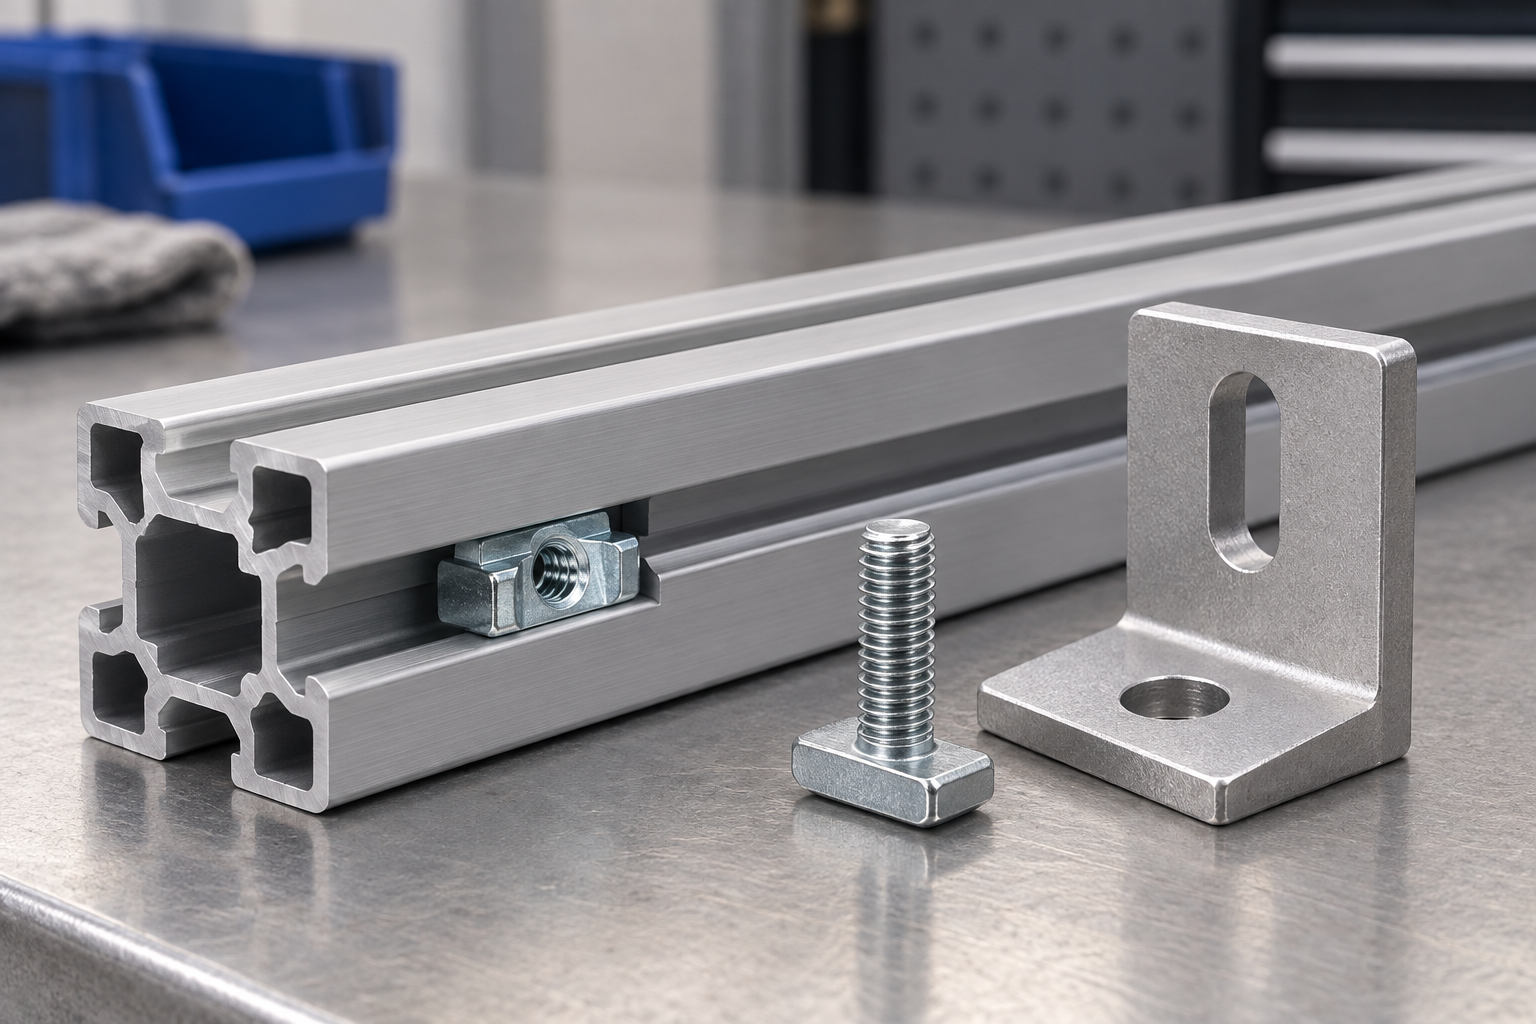
The term m8 t nuts describes threaded nuts with a flange or ears that enter an extrusion slot. During installation, the nut is inserted through the slot opening, turned or slid into its working position, and clamped by the mating screw. The flange spreads contact over the profile wall, so the joint can be repositioned without drilling a new hole. That is why the part is common on machine guarding, test fixtures, conveyor frames, and modular workstations.
Start with the profile drawing rather than the fastener catalogue. Measure the slot opening, internal neck width, and available depth; then check whether the nut can be inserted from the end or must be dropped in after a component is removed. A nominal M8 thread does not guarantee interchangeability: a nut designed for a 6 mm slot can rock in an 8 mm slot, while a wide flange can jam before it rotates. A thread gauge or a calibrated mating bolt is a quick field check, and the final assembly should be verified with the torque procedure specified by the equipment maker.
For moving joints, specify a spring-loaded or ball-retained variant only when the profile maker permits it. The spring helps hold position during assembly; it is not a substitute for clamp load. In a vibration-prone frame, use a prevailing-torque nut or a compatible threadlocker only after confirming the service temperature and the maintenance plan. These controls reduce hidden costs: rework, damaged extrusion, and a second visit to a production cell often cost more than the small difference between standard and retained hardware.
Rivet nuts solve blind access when an m8 t nut cannot be inserted
A rivet nut (also called a blind threaded insert) collapses behind a prepared hole when an installation mandrel pulls its threaded shank. It creates a female thread in sheet metal, tube, or a closed section where an operator cannot reach the back side. The trade-off is permanent installation: the hole diameter, grip range, and material thickness must match the rivet-nut body, and the tool must set it without spinning the insert.
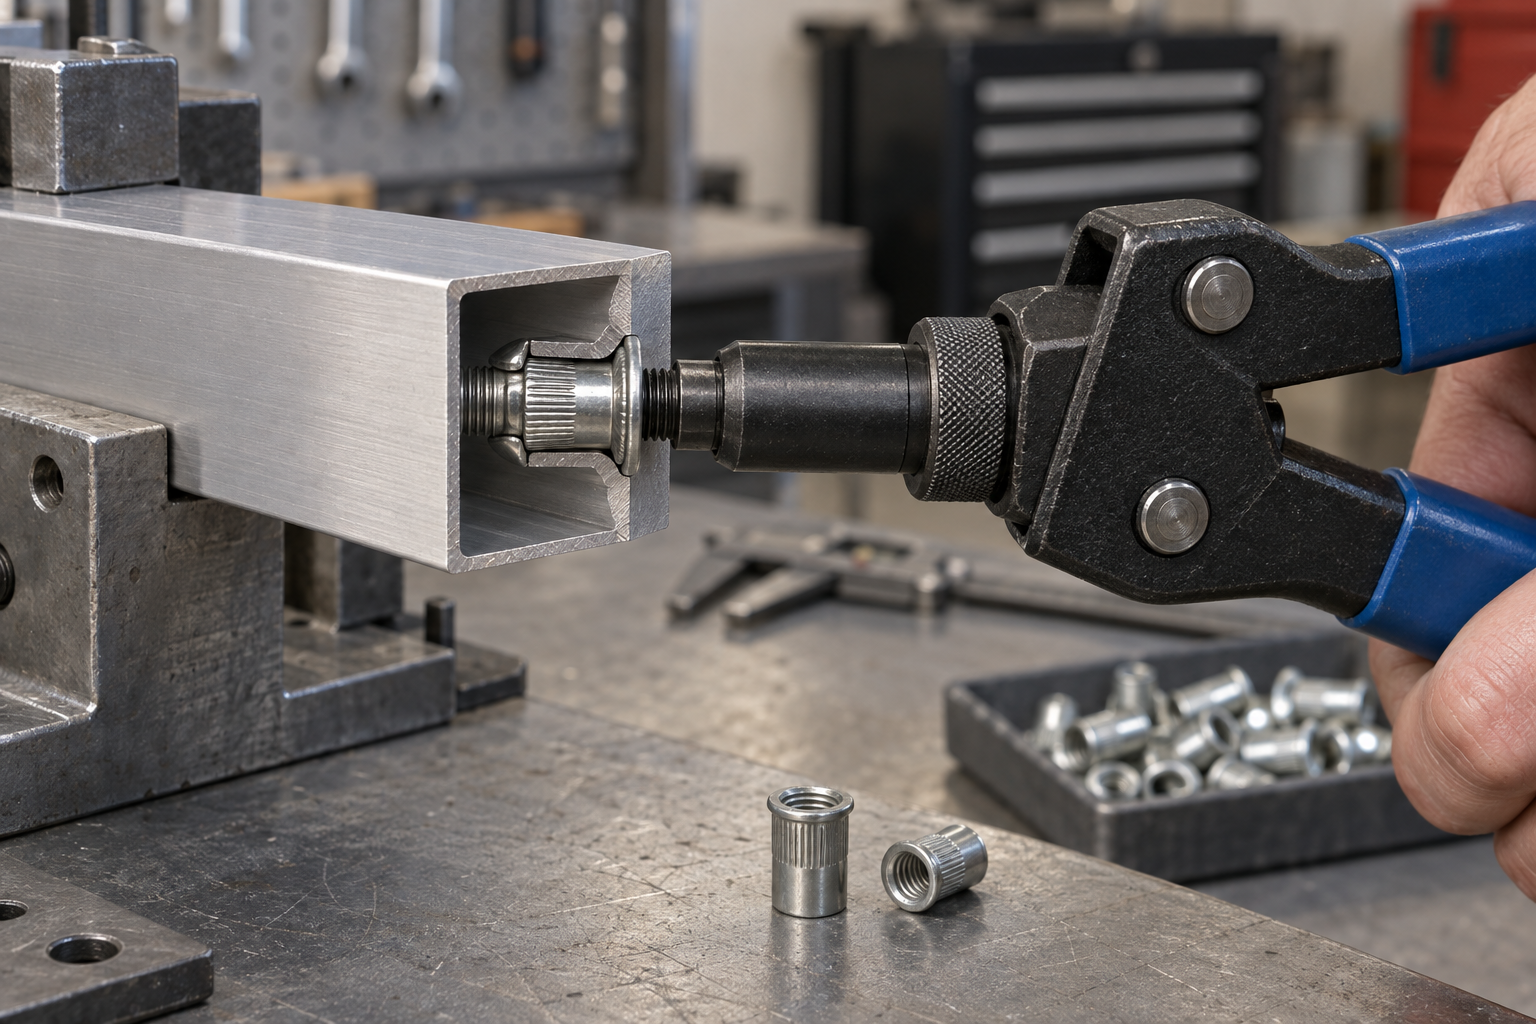
For an M8 rivet nut, confirm the manufacturer’s hole-size and grip-range table rather than inferring them from the thread size. Drill quality matters: a burr or an oversized hole reduces the formed backside bulb and can cause pull-out. A simple process audit records the tool setting, mandrel wear, and a sample spin-out check at the beginning of each shift. If the assembly is safety-related, validate pull-out and torque-out with a documented test plan; a product standard or catalog value is not automatically a rating for every sheet thickness.
Use a rivet nut when access, serviceability, and a clean exterior dominate. Use an M8 T nut when the profile is open, the bracket may need repositioning, or the joint must be disassembled repeatedly. Buyers often overlook the cost of access panels and drilling fixtures; a blind insert can reduce those operations even when its unit price is higher.
An insert nut protects wood assemblies when the grain is the weak link
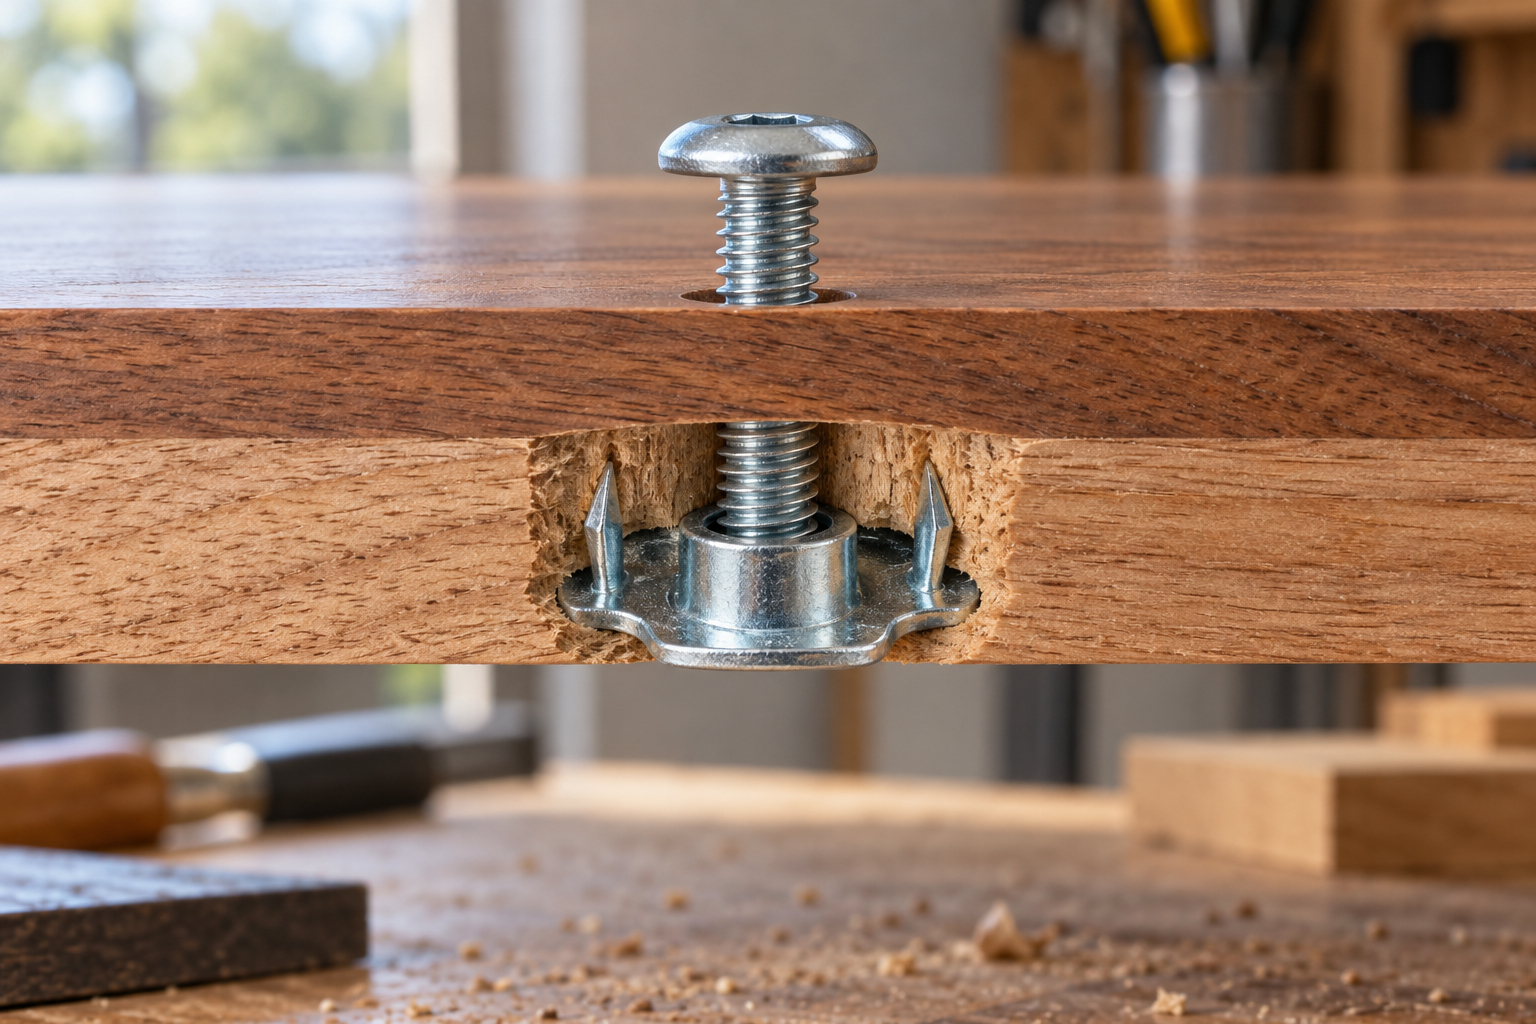
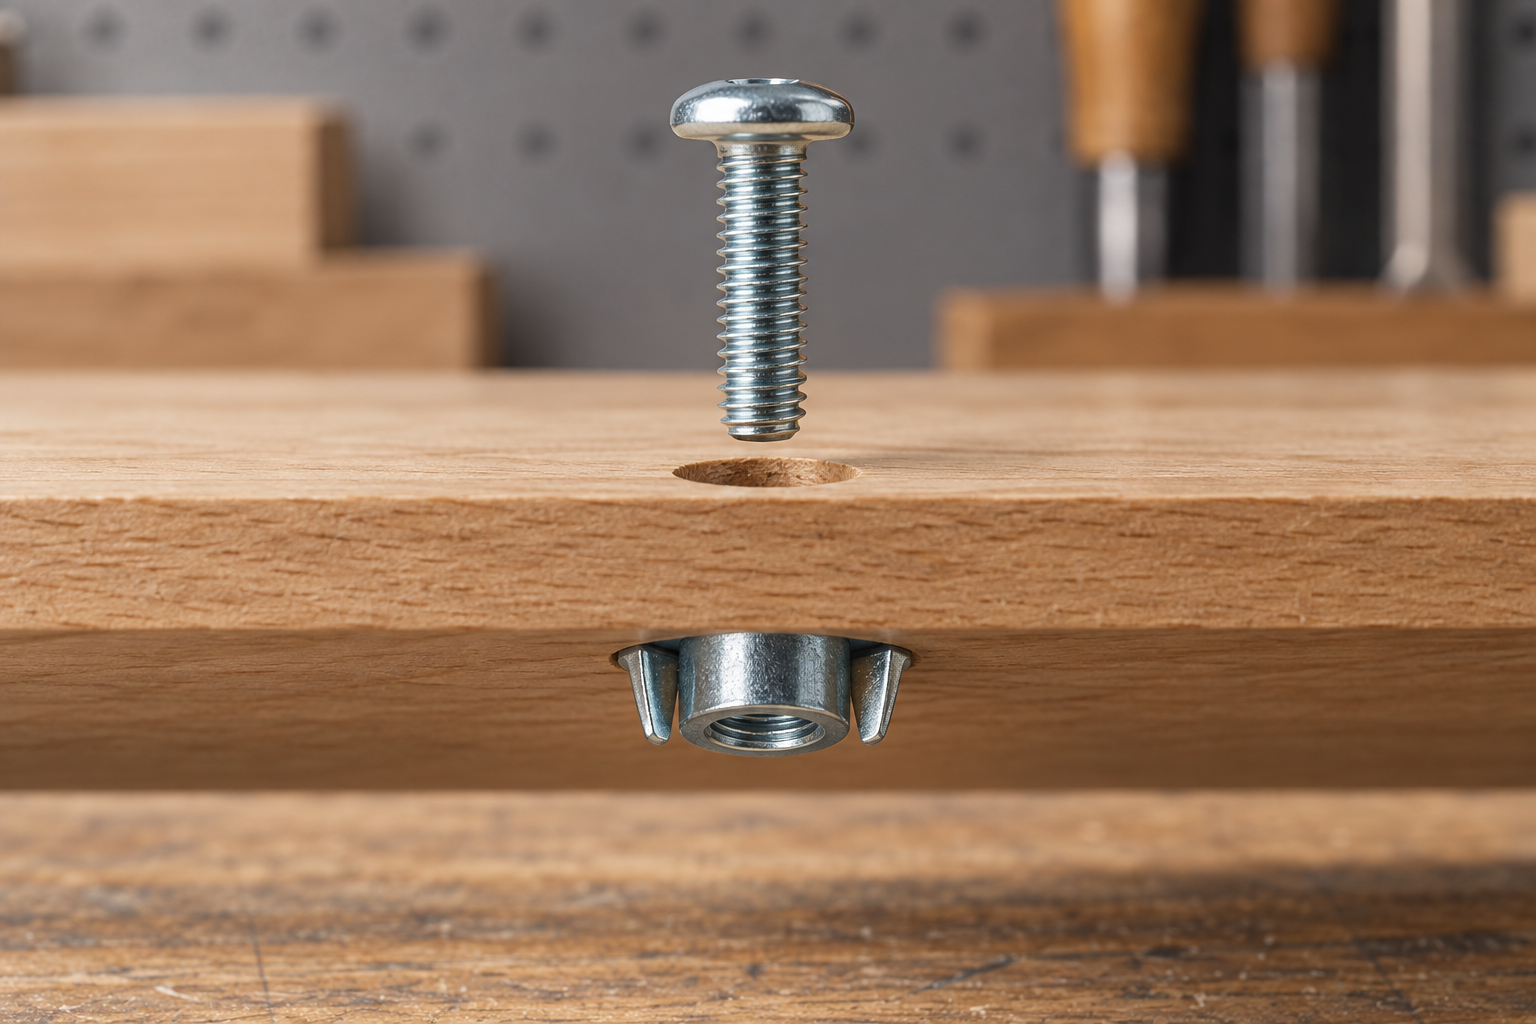
An insert nut installs into a pre-drilled hole in wood, plywood, MDF, or some composites and provides a machine thread for repeated assembly. Barbed, pronged, screw-in, and press-in designs behave differently. The correct style depends on panel density, edge distance, installation direction, and whether the load tries to pull the insert out or rotate it. For flat-pack furniture or equipment enclosures, test the actual panel, because nominal thickness alone does not predict holding strength.
Drill perpendicular to the face, clear chips, and install the nut without splitting the panel. A pilot hole that is too small can crack a hardwood edge; one that is too large can leave insufficient engagement. For a screw-in insert, a depth stop protects the visible face. For a pronged T-style insert, a press fixture keeps the flange square and prevents hammer damage. The mating M8 screw should have enough thread engagement to develop clamp load without bottoming in the insert.
Where a wood fixture sees repeated service, compare the total cost of replacing a damaged panel with the cost of a metal threaded insert. If moisture, heat, or cleaning chemicals are present, document the material and finish; corrosion resistance and wood swelling can matter more than nominal thread strength. A supplier’s application drawing and a small production pilot are more reliable than a generic pull-out number.
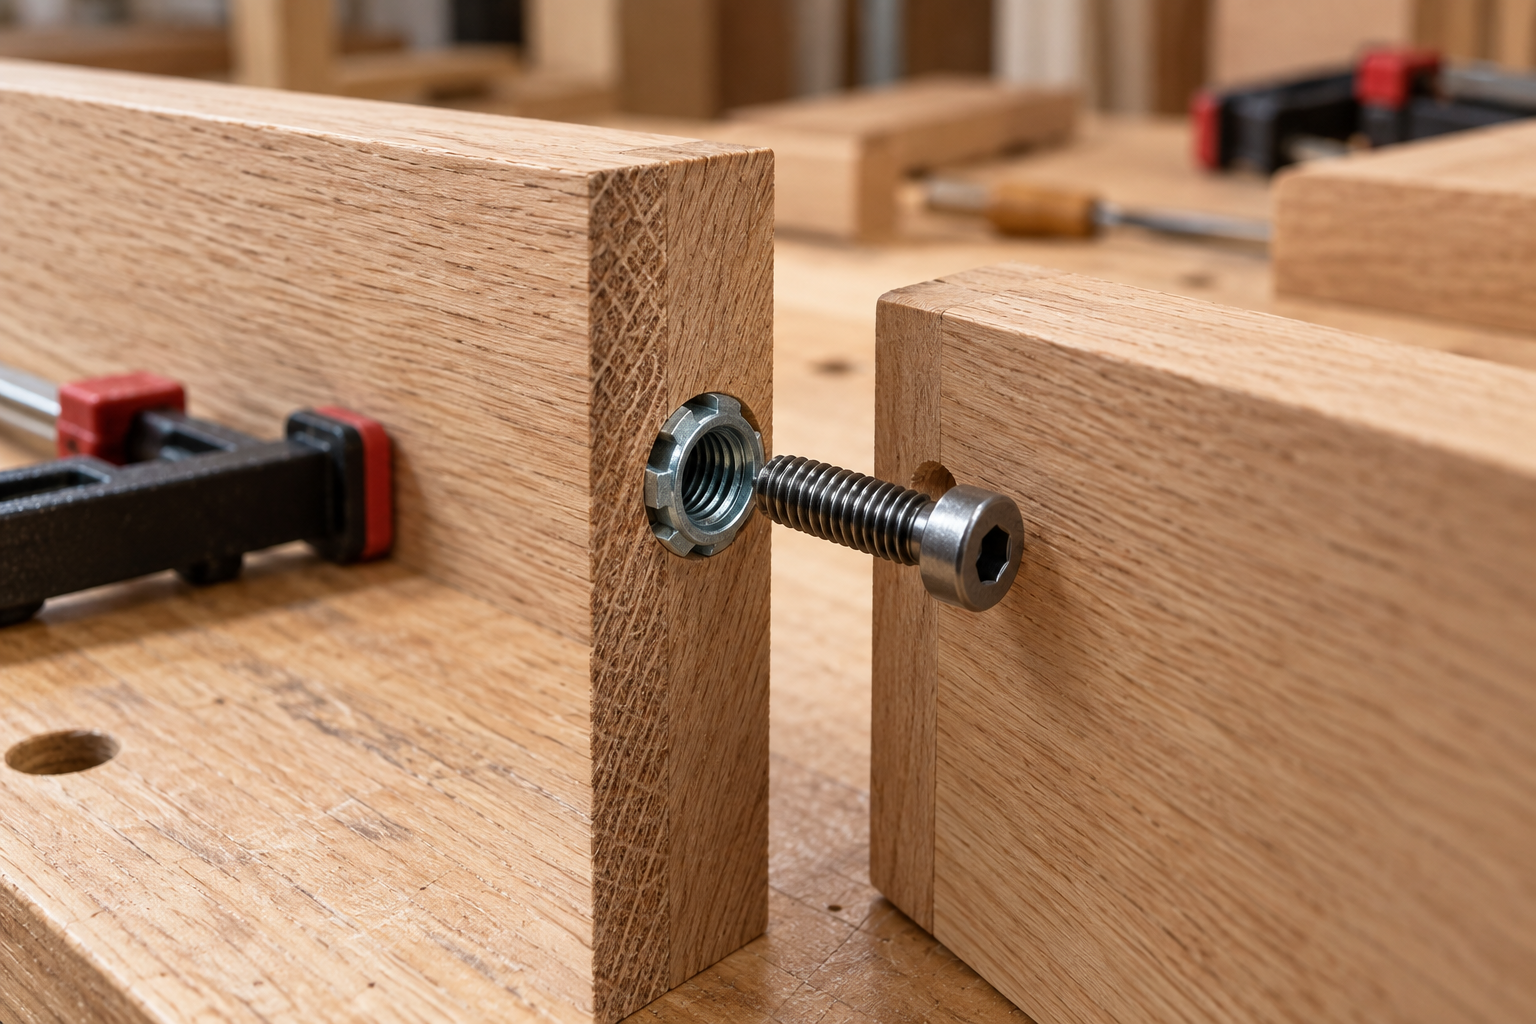
An insert nut gives a wood panel a replaceable machine thread for service access.
M8 t nut selection depends on application, slot geometry, and process control
| Application case | Preferred starting point | Check before release | Useful evidence |
|---|---|---|---|
| Adjustable aluminum guarding | M8 T nut with retained feature if allowed | Slot width, flange clearance, vibration direction | Profile drawing and torque record |
| Closed sheet-metal enclosure | M8 rivet nut | Hole diameter, grip range, tool setting | Pull-out and spin-out sample test |
| Wood fixture with service panels | M8 insert nut | Panel density, edge distance, pilot-hole size | Installation trial and cycle test |
| High-cleaning or outdoor environment | Material and finish matched to exposure | Galvanic pair, corrosion, drainage | Finish specification and maintenance plan |
| Frequent engineering changes | Sliding T-slot hardware | Access for repositioning and captured parts | Changeover time study |
Three procurement actions prevent most surprises:
- Send the supplier a section drawing or a clear slot and panel measurement, not only “M8.” Include material, thickness, edge distance, and access direction.
- Specify the thread tolerance and mating screw class, then identify the inspection method. ASME B1.1 covers Unified inch screw threads, so it should not be cited as the governing dimensional standard for an M8 metric thread; use the applicable ISO metric-thread documentation instead.
- Run a first-article installation and a small load or cycle check. Record tool settings, torque, and any witness marks before releasing a larger batch.
- Keep a second source for profile-specific hardware and publish the approved drawing with the bill of materials. A flange nut may solve a different joint, but it should not be substituted for a slot nut without checking bearing geometry.
Qiyi Fastener can be considered at this selection stage when a buyer needs configurable threaded hardware, drawings, and sourcing support; the appropriate material, finish, and test evidence still belong in the purchase specification.
Frequently Asked Questions
What is the difference between an M8 T-nut and an M8 rivet nut?
An M8 T-nut sits in an open extrusion slot and can usually slide before clamping. An M8 rivet nut is set into a drilled hole and forms a backside anchor in sheet metal or a closed section. Choose by access and substrate first, then verify the hole or slot dimensions and the expected load direction.
Are M8 T-nuts suitable for woodworking?
They can work in a purpose-built extrusion or a wood jig that captures the nut, but a standard aluminum-profile T-nut is not automatically a good wood fastener. For a wood panel, an insert nut with a style matched to density and edge distance is usually easier to control. Trial the actual panel and protect the face from splitting.
Can M8 rivet nuts be installed without access to the back side?
Yes. A rivet nut is designed for blind installation from the front with a compatible hand, pneumatic, or battery tool. The operator still needs access to set the mandrel and must match grip range, hole size, and material thickness; otherwise the insert can spin or pull out.
How do you install an M8 threaded insert nut?
Mark and drill the specified pilot hole square to the panel, remove chips, and drive or press the insert to the maker’s depth without crushing the substrate. Check that the M8 screw engages fully without bottoming, then run a representative torque or cycle check. Use a depth stop and a simple fixture when production repeatability matters.
References
Secure connections come from matching the fastener to the access path, substrate, and service cycle—not from choosing the biggest thread on the shelf. Review the profile or panel drawing with the supplier, then browse m8 t nuts for a configurable starting point. For a drawing review, material question, or sample request, contact Qiyi Fastener.