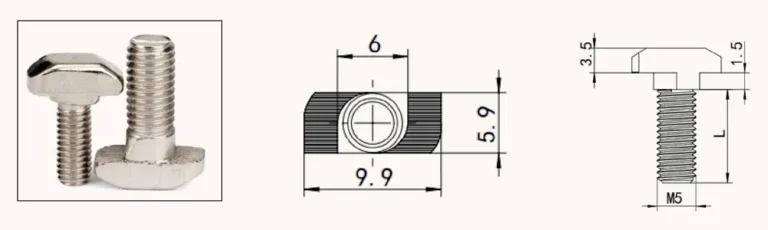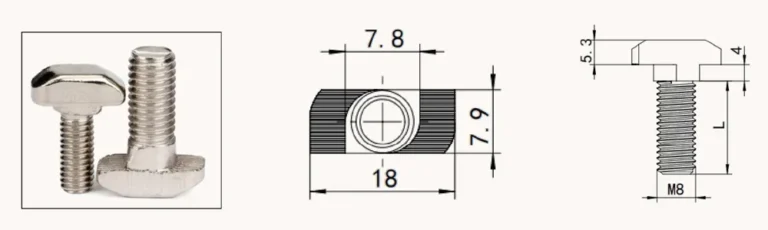
T-bolt installation sequence for an aluminum profile assembly should follow the approved drawing and work instruction, not a visual match alone. This B2B guide gives purchasing and assembly teams a direct control point for the requested joint.
Direct answer
Use a controlled sequence: confirm the approved profile slot and bracket drawing, insert and position the T-bolt correctly, align the bracket before clamping, and inspect the seated assembly before releasing it to the next operation. The sequence prevents an apparently tightened joint from being accepted before its geometry and access have been checked.
Pre-installation or RFQ checklist
| Check | Why it belongs in the review |
|---|---|
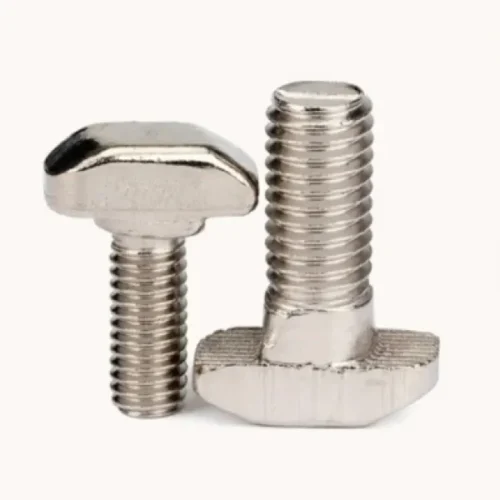
| Profile slot and T-bolt head interface | Confirm that the selected hardware belongs to the approved profile system before insertion. |
| Bracket opening and stack-up | Check the bracket, any approved washer or spacer, and the mating thread path together. |
| Insertion and orientation | Place the T-bolt by the approved method; do not use tightening to force a mismatched head into position. |
| Alignment before clamping | Hold the bracket at its required position while the joint is first brought into contact. |
| Final inspection point | Verify seating, visible alignment, and tool access under the project work instruction. |
Controlled sequence
1. Read the controlled joint detail
Identify the profile slot, bracket location, required hardware stack-up, and any access restriction before taking parts to the frame.
2. Stage the compatible hardware
Confirm the T-bolt, mating nut or threaded feature, bracket, and any specified washer or spacer against the current drawing or BOM.
3. Insert and position the T-bolt
Use the approved insertion path and position the bolt for the bracket location. Keep it accessible for alignment; do not assume a similar-looking profile uses the same head geometry.
4. Place and align the bracket
Bring the bracket into its specified position, check adjacent members and service clearance, then hand-start the mating hardware where the design permits.
5. Clamp under the approved work instruction
Apply the specified assembly method only after the parts are seated. If the joint will not clamp flat, stop and review fit rather than increasing force.
6. Inspect and record exceptions
Check that the bracket is located as drawn, the hardware is seated, and the next assembly operation remains possible. Escalate a mismatch with photographs or a marked-up drawing.
Use product information with the drawing
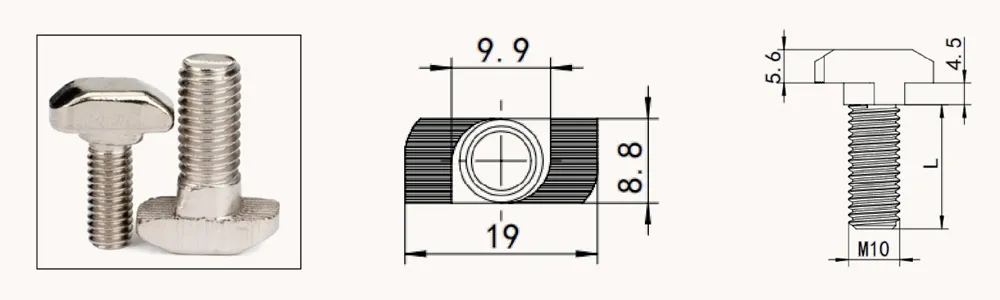
Review the T-bolt product page for the relevant product family, then compare it with the controlled profile and bracket detail. Where a project uses several fastening methods, the QIYI products overview can help organize the RFQ. Do not infer dimensions, material grades, load capacity, torque, corrosion life, certification, or cross-system compatibility when they are not stated in the approved documentation.
RFQ call to action
For a quotation or configuration review, send QIYI your RFQ with the profile or joint drawing, required product configuration, thread and interface dimensions, material or finish wording where applicable, quantity breaks, destination or project reference, and the current drawing revision. Ask for any assumption or proposed alternative to be listed separately.
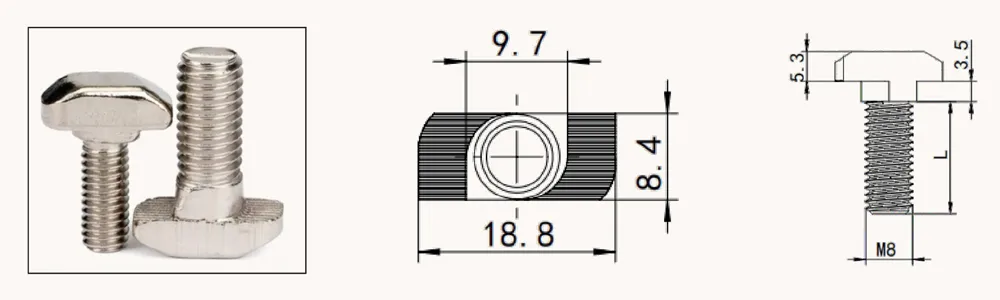
Fit boundary
T-Bolt Installation Sequence for Aluminum Profile Brackets is a practical selection, installation-control, and RFQ aid. It does not establish structural load capacity, tightening torque, vibration behavior, corrosion performance, certification, material grade, or fit with every aluminum-profile system. Final joint design, process approval, and acceptance remain subject to the approved drawing, project requirements, and confirmation for the exact part.
FAQs
Should the bracket be tightened before it is aligned?
No. Establish the bracket position and confirm the hardware is seated before final clamping.
Can a T-bolt be selected by thread size alone?
No. The profile interface, head geometry, bracket stack-up, installation path, and drawing revision must also match.
What should a work instruction show?
It should show the joint detail, hardware callouts, insertion direction, assembly order, inspection point, and approved escalation route.