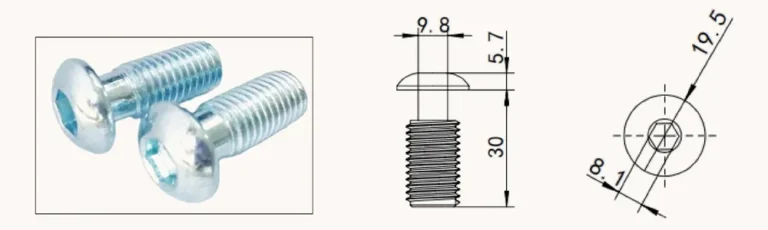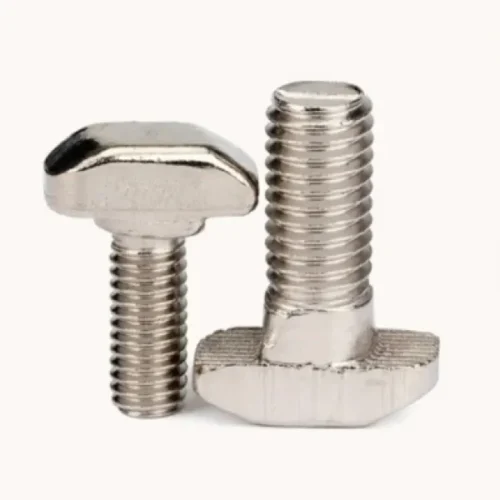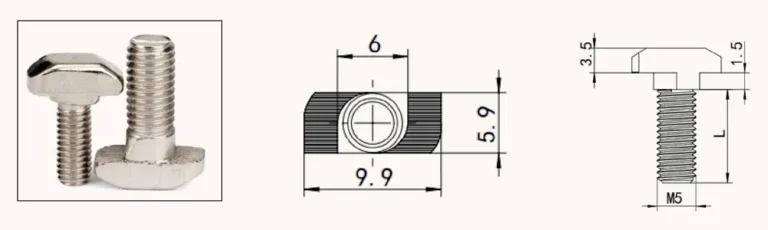
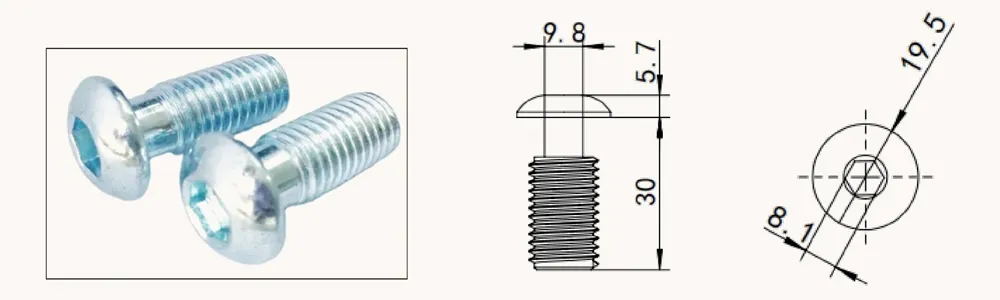
mushroom bolt installation for an aluminum profile assembly should follow the approved drawing and work instruction, not a visual match alone. This B2B guide gives purchasing and assembly teams a direct control point for the requested joint.
Direct answer
Install mushroom bolts by verifying the profile and bracket interface first, seating the head as intended, aligning the bracket before clamp-up, and checking the completed joint against the approved work instruction. This is an installation-control guide, not a comparison of product specifications or head dimensions.
Pre-installation or RFQ checklist
| Check | Why it belongs in the review |
|---|---|
| Mushroom bolt and profile interface | Confirms the head is being used with the intended profile slot or connection detail. |
| Bracket hole and contact face | Checks that the bracket can locate without distortion or an unplanned interference. |
| Thread and mating component | Prevents a visual match from being mistaken for a complete joint definition. |
| Tool path and assembly order | Ensures the joint can be reached and adjusted before the frame is closed. |
| Clamp-up inspection | Creates a defined check for seating, bracket position, and visible interference. |
Controlled sequence
1. Confirm the joint callout
Use the approved drawing to identify the profile, mushroom bolt, bracket, mating hardware, and the intended assembly order.
2. Review the bracket contact surfaces
Check that the bracket opening, mating faces, and nearby profile features leave the intended location available before the bolt is clamped.
3. Seat the mushroom bolt
Install it through the approved path and confirm the head is located as intended. Do not use the joint to pull an unseated part into position.
4. Align the bracket and hand-start
Place the bracket, establish its location, and engage the mating thread without cross-loading the assembly.
5. Clamp and inspect
Use the project-approved clamping method, then inspect bracket position, hardware seating, access for adjacent parts, and any specified witness marks.
6. Handle a nonconforming fit
Stop if the bracket rocks, the head does not seat, the thread does not start cleanly, or the tool path is blocked. Record the joint location and request drawing review.
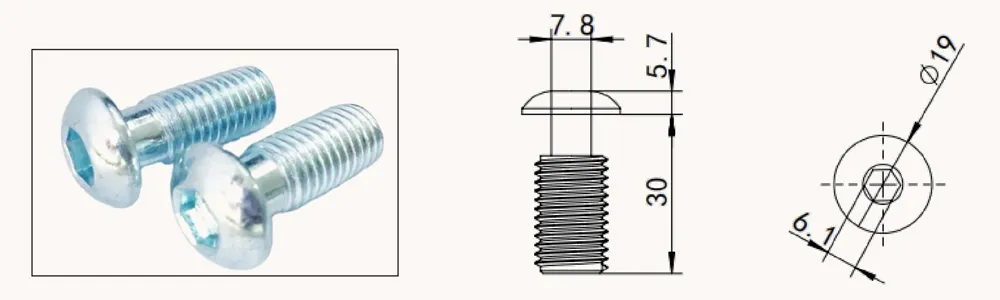
Use product information with the drawing
Review the mushroom bolt product page for the relevant product family, then compare it with the controlled profile and bracket detail. Where a project uses several fastening methods, the QIYI products overview can help organize the RFQ. Do not infer dimensions, material grades, load capacity, torque, corrosion life, certification, or cross-system compatibility when they are not stated in the approved documentation.
RFQ call to action
For a quotation or configuration review, send QIYI your RFQ with the profile or joint drawing, required product configuration, thread and interface dimensions, material or finish wording where applicable, quantity breaks, destination or project reference, and the current drawing revision. Ask for any assumption or proposed alternative to be listed separately.
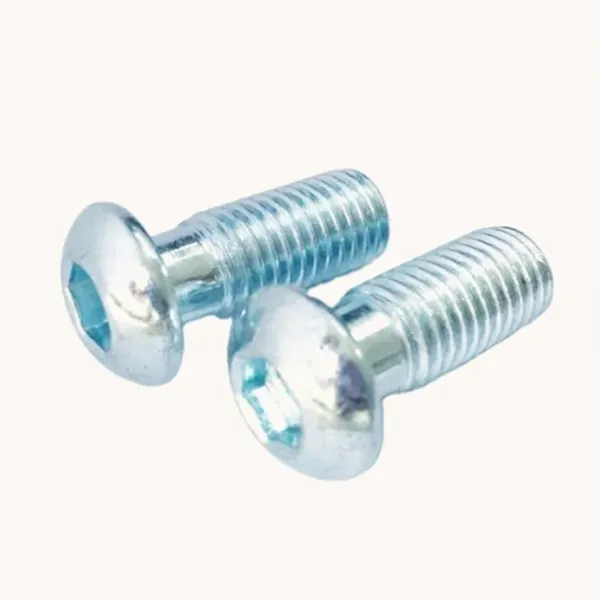
Fit boundary
Mushroom Bolt Installation and Bracket-Clamping Checklist is a practical selection, installation-control, and RFQ aid. It does not establish structural load capacity, tightening torque, vibration behavior, corrosion performance, certification, material grade, or fit with every aluminum-profile system. Final joint design, process approval, and acceptance remain subject to the approved drawing, project requirements, and confirmation for the exact part.
FAQs
Is a mushroom head shape enough to approve a bracket joint?
No. The approved profile interface, bracket geometry, thread, installation path, and assembly sequence still need confirmation.
What if the bracket will not sit flat?
Do not compensate by forcing the fastener. Review the bracket, stack-up, hardware interface, and drawing revision.
When should an installer escalate an issue?
Escalate when seating, alignment, thread engagement, or access differs from the controlled joint detail.