Identify the rivet nut and its failure before removing it
Separate a damaged thread from a spinning insert
A rivet nut provides an internal thread in material that may be too thin to tap. A blind rivet nut is installed from one accessible side; its body deforms behind the panel to clamp the material. An ordinary blind rivet instead creates a riveted connection and does not provide the same reusable threaded interface. NASA’s Fastener Design Manual provides broader guidance on fastener selection and joint behavior, not a universal removal procedure for every insert design.
There are 2 different faults to diagnose: a screw that cannot turn in the thread, and an insert that rotates in the panel. A seized screw can transmit removal torque into the insert; a spinning insert may have insufficient anti-rotation engagement, an unsuitable hole, or an installation fault. Forcing either condition can enlarge the hole or bend the sheet. Remove supported loads and isolate nearby equipment before working on the joint.
Confirm that the component is actually a threaded insert. An exposed flange alone does not reliably distinguish a rivet nut from a blind rivet or another captive fastener. Look for an internal thread, check the assembly drawing, and identify the installed part number where possible. The insert manufacturer’s installation instructions and the drawing determine the intended hole, body geometry, and grip range; generic removal advice cannot replace them.
Record the specification before destroying the insert
Record the thread designation, flange shape, body type, material, and sheet thickness. For example, M6 and M8 are different nominal metric thread sizes, not instructions to use a 6 mm or 8 mm removal drill. Thread diameter does not establish flange thickness or the installed hole diameter. NASA’s fastener guidance emphasizes selection for the actual joint; the same principle applies when documenting a failed insert.
If the screw remains trapped, address that fault first using the assembly’s service procedure. Extracting a screw and removing the surrounding insert are separate operations. Stop if the available access cannot support the panel or safely restrain the part, especially around painted surfaces, electrical wiring, hydraulic lines, or structural assemblies.
Choose a controlled rivet nut removal method for the available access
Drilling can separate the flange, but it can also damage the hole
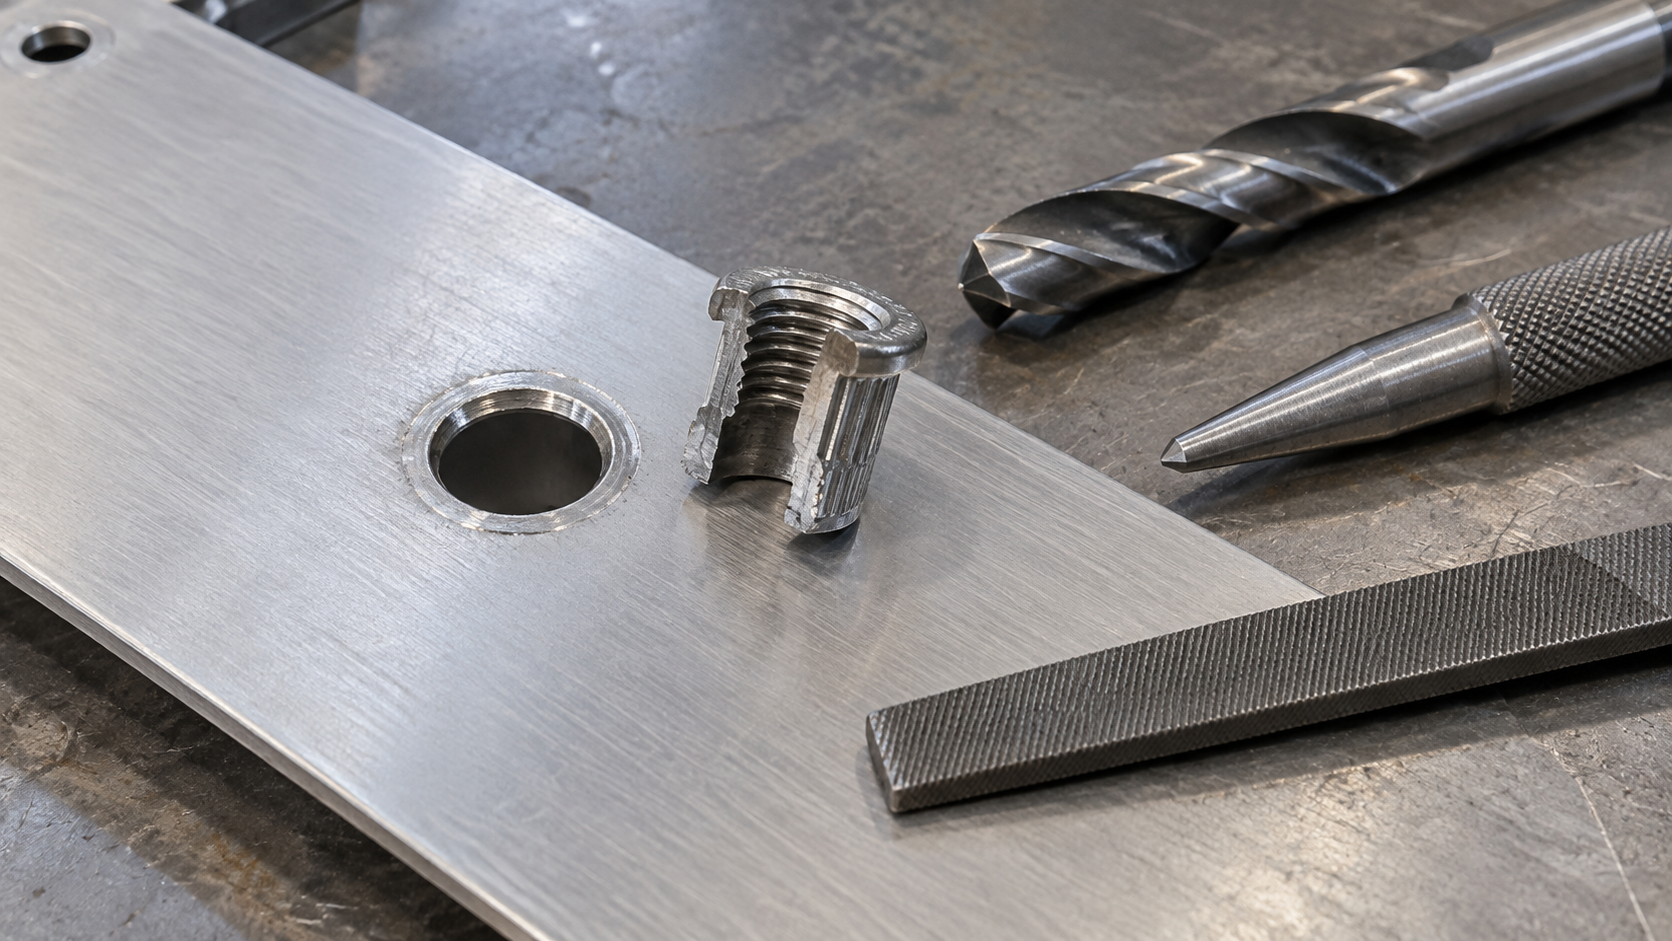
A common destructive approach is to remove enough of the flange to release its retention, then clear the remaining body when access permits. The objective is not to drill deeply through the entire assembly. There are 2 boundaries to protect: the original panel hole and the space behind it. Inspect that rear space before starting; a blind installation does not mean blind removal is safe.
Select the cutting tool and setup from the actual insert geometry and substrate, not from thread size alone. Support the sheet, stabilize the work, and use controlled cutting depth. A rotating insert can catch the drill and tear or enlarge the hole. A manufacturer-approved holding method may be needed; do not substitute improvised restraint that exposes hands to the cutter. If the insert starts spinning, stop and reassess.
OSHA’s hand and power tool guidance addresses guarding, tool condition, and safe operation. Its eye and face protection guidance also matters because metal chips and abrasive particles can be projected. Appropriate protection is necessary, but it does not make an unstable workpiece or an unknown rear clearance acceptable.
Cutting and grinding require accessible, protected surfaces
Where the flange is reachable, localized cutting or grinding may be considered instead of drilling. These methods are not automatically safer: they can remove panel material, damage coatings, produce heat and sparks, or leave sharp edges. Rear access may permit a different release method, but pulling or twisting the collapsed body through the hole can still distort the sheet.
A rivet nut tool normally installs the insert by applying a specified setting action. It is not automatically an extraction tool, and reversing its operation should not be assumed to undo the installed deformation. Use a dedicated removal accessory only when its manufacturer identifies the compatible fastener and procedure. Otherwise, regard the insert as non-reusable and plan a controlled destructive operation.
Inspect the joint after rivet nut removal before installing a replacement
Evaluate 3 load-related conditions: hole integrity, substrate integrity, and the intended load path. Look for elongation, cracking, burrs, thinning, coating loss, and deformation around the original location. A new insert fitted into damaged material may appear secure while having inadequate resistance to rotation or pull-out. NASA’s Fastener Design Manual is useful for understanding why joint geometry and loading matter, but it does not authorize a specific repair.
Measure the opening against the replacement manufacturer’s permitted hole dimensions and grip range. Body shape matters: a round body and a hexagonal body require different hole specifications. Do not assume that increasing the thread size or selecting a more aggressive body restores the original design. Repair may require an approved larger insert, an engineered reinforcement, another fastening arrangement, or panel replacement.
For safety-related joints, follow the equipment manufacturer’s repair requirements and obtain engineering approval when necessary. Replacing the screw does not prove the insert is sound, and reinstalling an insert does not prove that the repaired panel carries its original load. If acceptance requires torque resistance or pull-out verification, specify the method, fixture, substrate, and acceptance criteria rather than relying on a hand-feel check.
The hidden cost is usually the damaged assembly, not just the insert. Compare removal labor, access preparation, cleaning, surface restoration, inspection, downtime, and possible panel replacement. Without measured site data, no universal saving can be claimed. A slightly slower method may reduce total repair cost when it preserves an expensive finished panel.
Compare rivet nut removal options by substrate risk and repair cost
| Option | Potential use | Main limitation | Repair-cost consideration |
|---|---|---|---|
| Controlled flange drilling | Accessible flange with stable work support and known rear clearance | Spinning, oversize cutting, and drill breakthrough can damage the panel | Tool setup and inspection may be modest; hole damage can change the repair entirely |
| Localized cutting or grinding | Reachable flange where adjacent surfaces can be protected | Heat, sparks, abrasive debris, and unintended substrate removal | Include coating restoration and cleanup, not only cutting time |
| Rear-access mechanical removal | Assembly can be opened and the collapsed body safely reached | Access labor and possible distortion during release | Disassembly may take longer but improve control and debris recovery |
| Approved dedicated removal accessory | Manufacturer documents compatibility with the installed fastener | Not a universal solution across insert families | Evaluate tool investment against repeated repair volume |
| Panel or subassembly replacement | Material damage, inaccessible hazards, or repair restrictions prevent acceptable removal | Higher component and downtime burden | May be necessary when the original load path cannot be restored |
Apply standards to rivet nut joints within their actual scope
ISO 898-2 covers mechanical properties of specified carbon steel and alloy steel nuts. It is not a blanket certification for all blind threaded inserts, nor does it establish an installed insert’s pull-out capacity in a particular sheet. A supplier’s reference to a nut property class must therefore be checked against the product and the standard’s scope.
Keep 3 evidence categories separate: thread and product specifications, installation requirements, and assembled-joint performance. A dimensional inspection does not replace a load test; a test method is not itself a product certification. Ask which samples, materials, sheet thicknesses, and installation settings support any reported result.
NASA’s manual is engineering guidance, while OSHA requirements address workplace safety in their applicable US context. Neither is a product approval for a replacement insert. Destination-market regulations, equipment requirements, and contract specifications may add obligations. Unsupported compliance claims can lead to rejection, rework, or an unsafe repair, so retain the relevant documentation with the procurement record.
Frequently Asked Questions
How to remove nut rivets?
Threaded rivet nuts: identify the insert and free trapped screws first; drill or cut only with protected panel and rear clearance. Ordinary rivets: follow type-specific procedure — the two fasteners are not interchangeable.
Are rivet nuts removable?
Yes, many can be removed, but removal normally sacrifices the insert. Their installed body deformation is not designed to reverse simply by unscrewing a tool. Whether the original hole remains usable depends on the removal process, existing damage, and replacement specification.
How to remove rivets without a drill?
Accessible rivets allow controlled cutting/grinding per construction and service procedure. Threaded inserts may enable rear-access mechanical removal. No method is universally damage-free; stop if substrate, equipment or operators cannot be protected.
What is the best tool to remove rivets?
There is no single best tool for every rivet or threaded insert. Choose from the documented removal procedure, fastener geometry, available access, and acceptable substrate damage. A rivet nut tool is normally an installation tool, so confirm a specific removal function before using it for extraction.
References
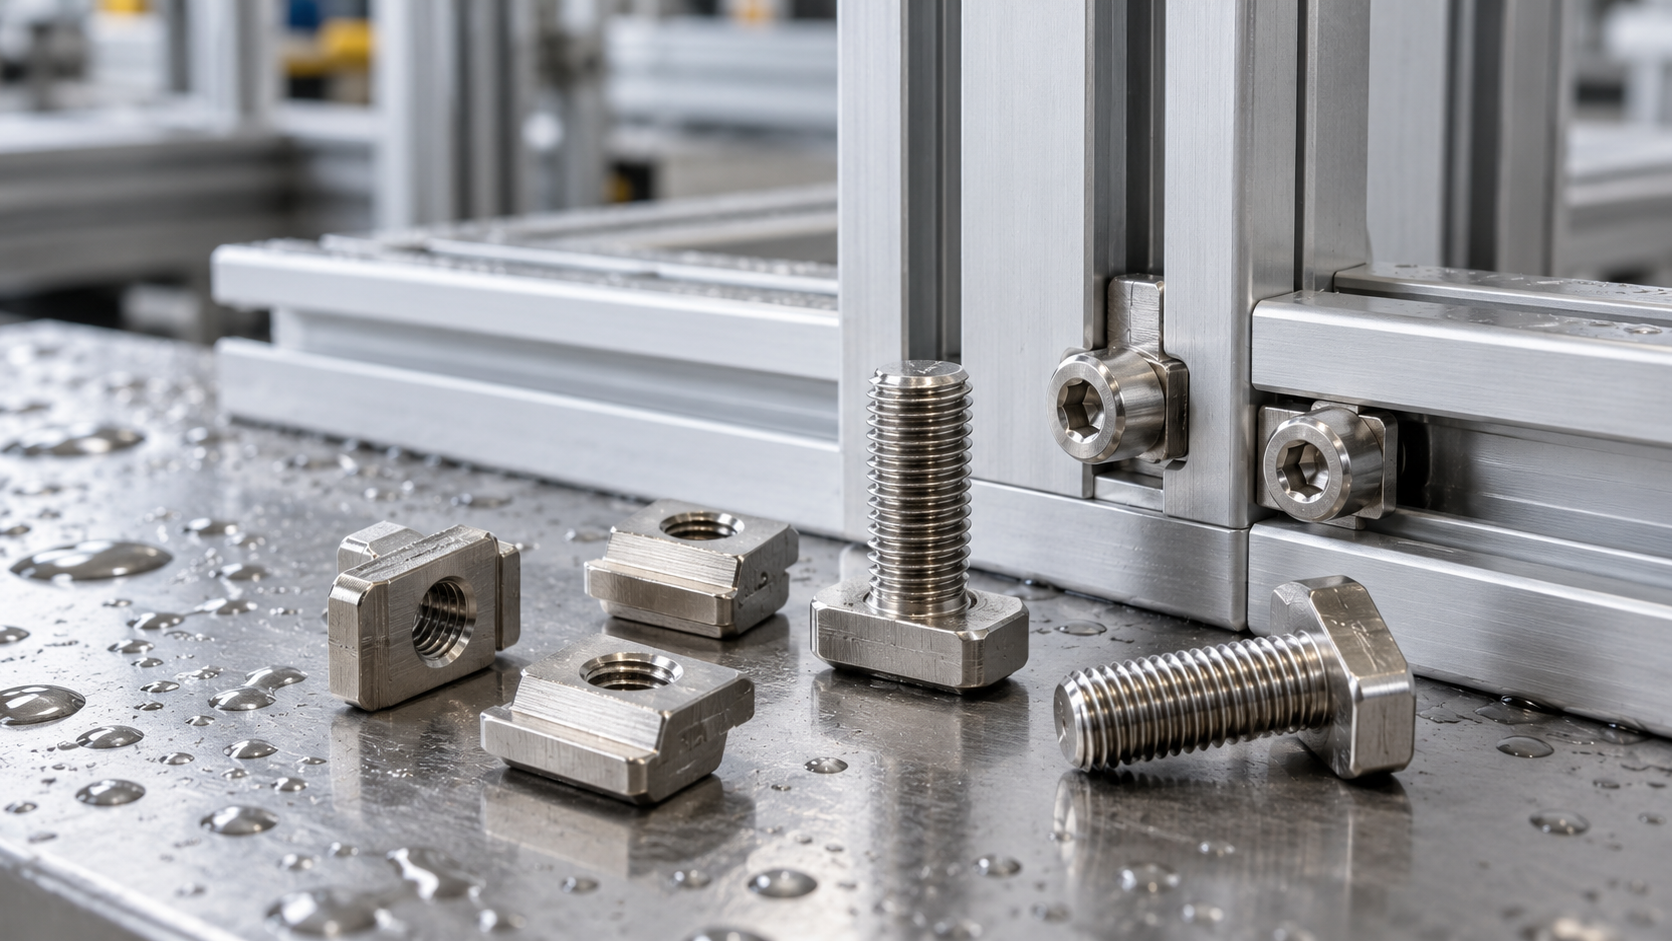
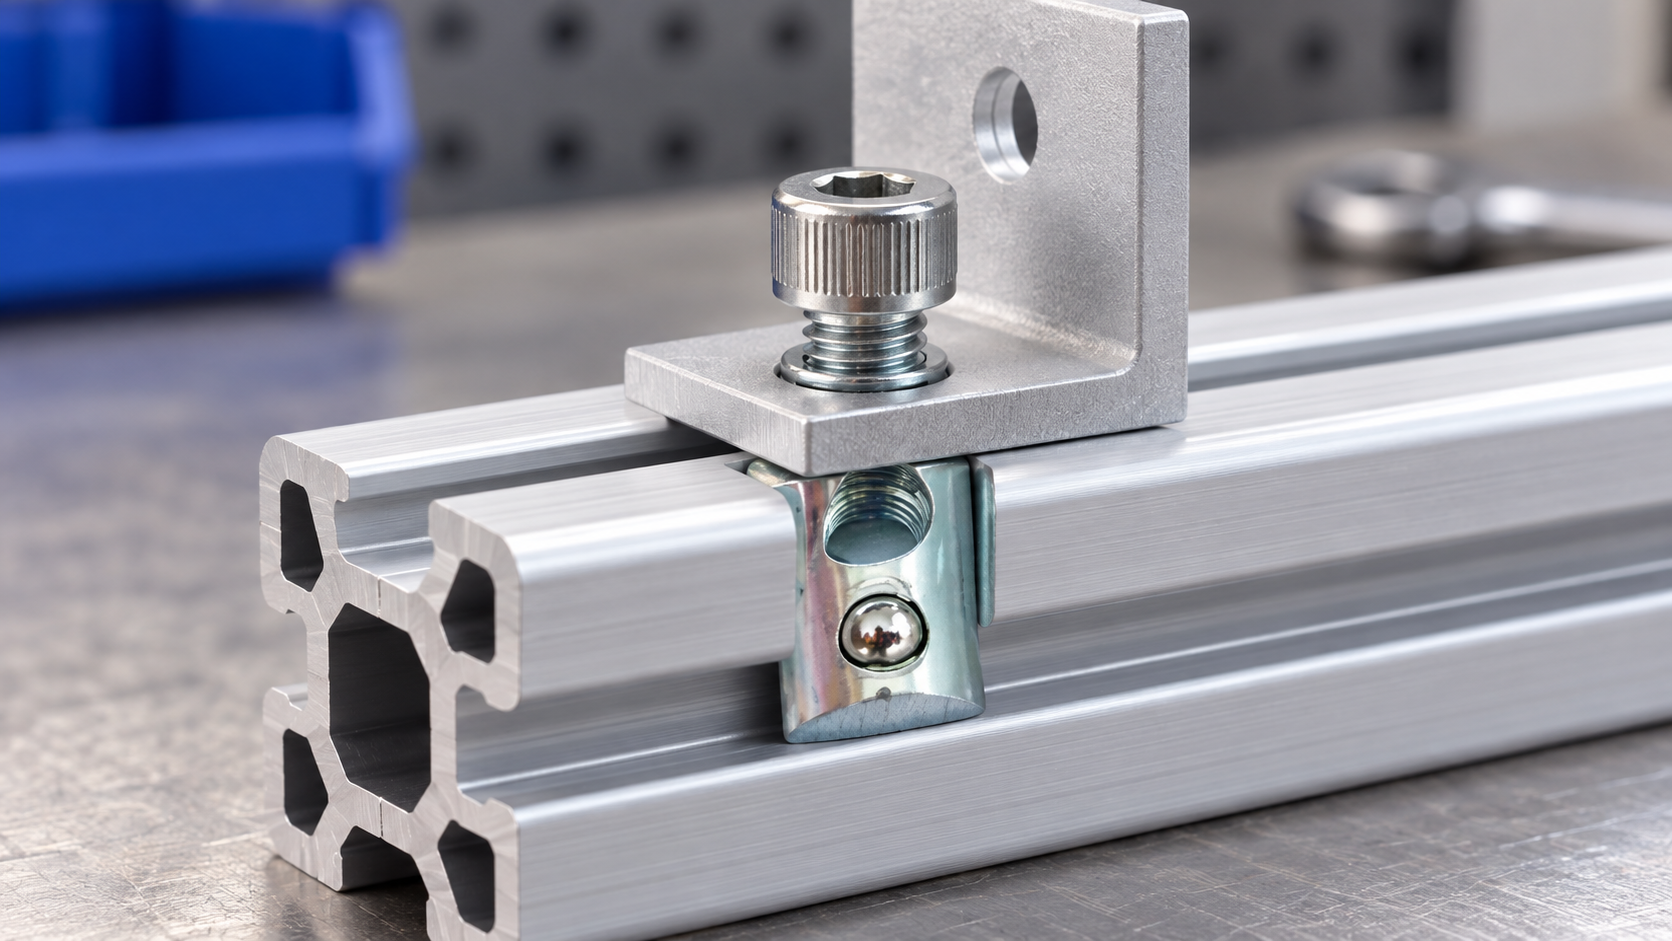
For a new profile-based assembly, compare Qiyi Fastener’s slide-in rivet nut alternative: T-nuts and square nuts with the actual slot and assembly requirements. Contact Qiyi Fastener with the profile drawing, thread size, application, and purchasing requirements to discuss suitable profile-slot hardware.