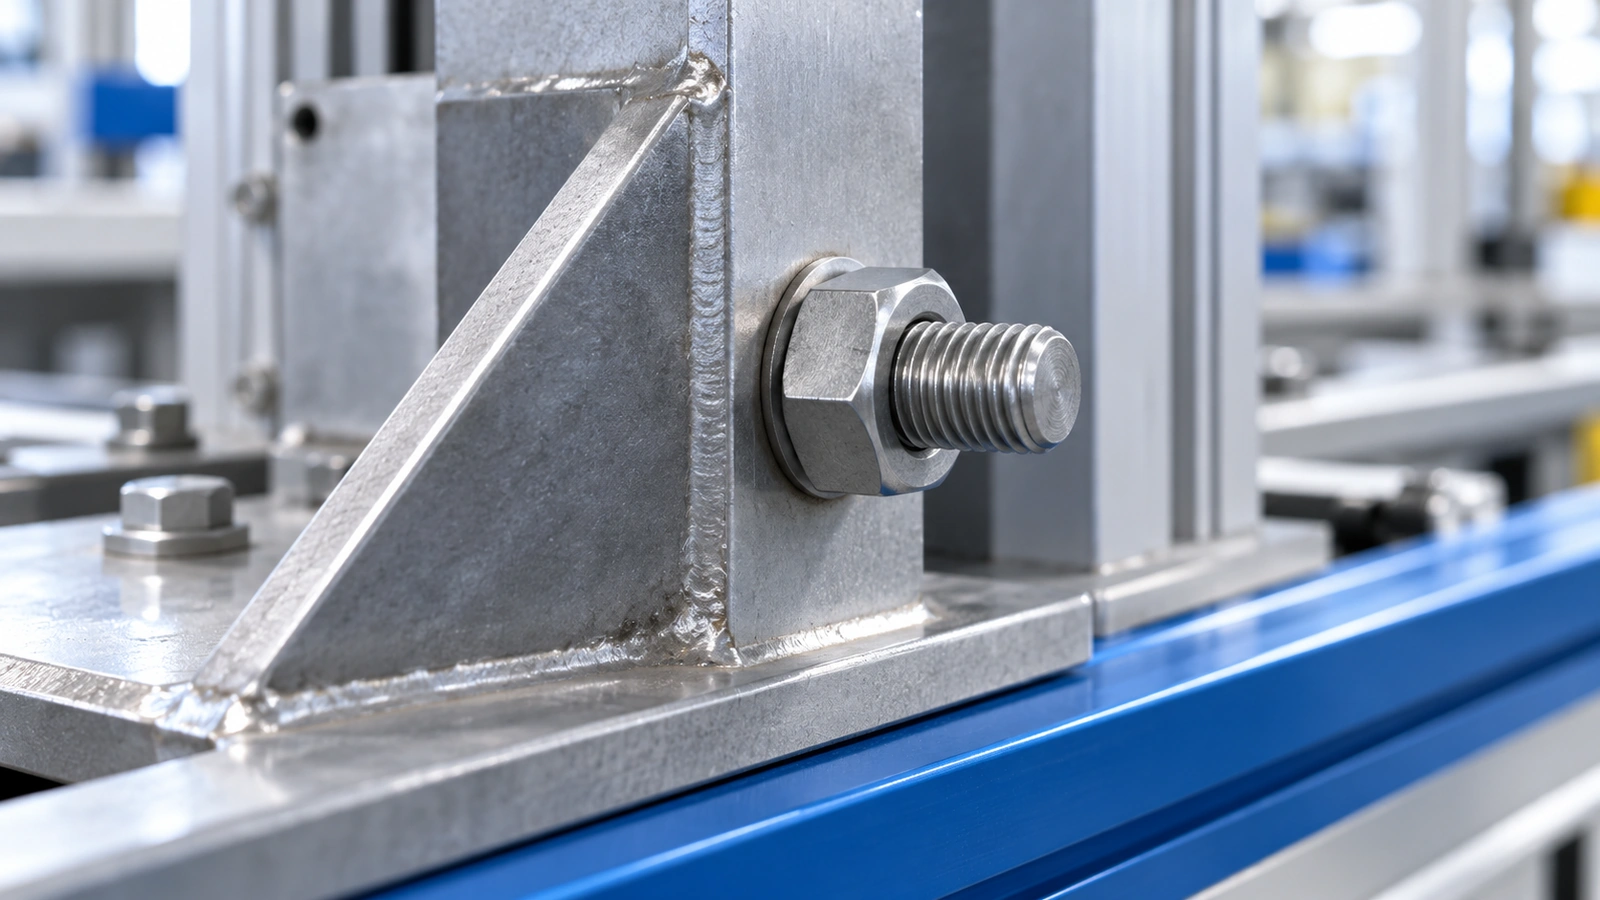
A hex bolt should be assessed before removal starts.
Illustrative scenario: A stuck hex bolt is a joint-condition problem before it is a tool problem. Apply the site’s lockout and tagout process, isolate electrical, hydraulic, pneumatic, thermal, and mechanical energy, and support any component that the fastener restrains. Confirm that a pressure boundary, suspended load, spring force, or stored rotation cannot move when the joint is loosened. If the equipment manual requires a particular sequence, that procedure takes priority over a general removal guide.
Record the nominal diameter, thread system, visible length, head style, corrosion, coating, and access direction. Check whether the bolt passes through a clearance hole into a hex nut or threads into a tapped hole; the repair and replacement specification differ. Remove loose paint and rust with a suitable brush, then verify the drive size with a clean, unworn tool. Do not start with an impact wrench, a long extension, or an improvised grip when the socket cannot sit squarely.
Assess the consequence of failure before choosing force. A rounded head on a removable guard is different from a corroded bolt in a structural bracket, pressure enclosure, mold, or food-processing machine. Define the stop point in the work order: if the head deforms further, the component shifts, the tool cannot stay aligned, or the parent material may be damaged, pause and involve the responsible engineer or specialist.
A hex head bolt needs full drive engagement and controlled torque.
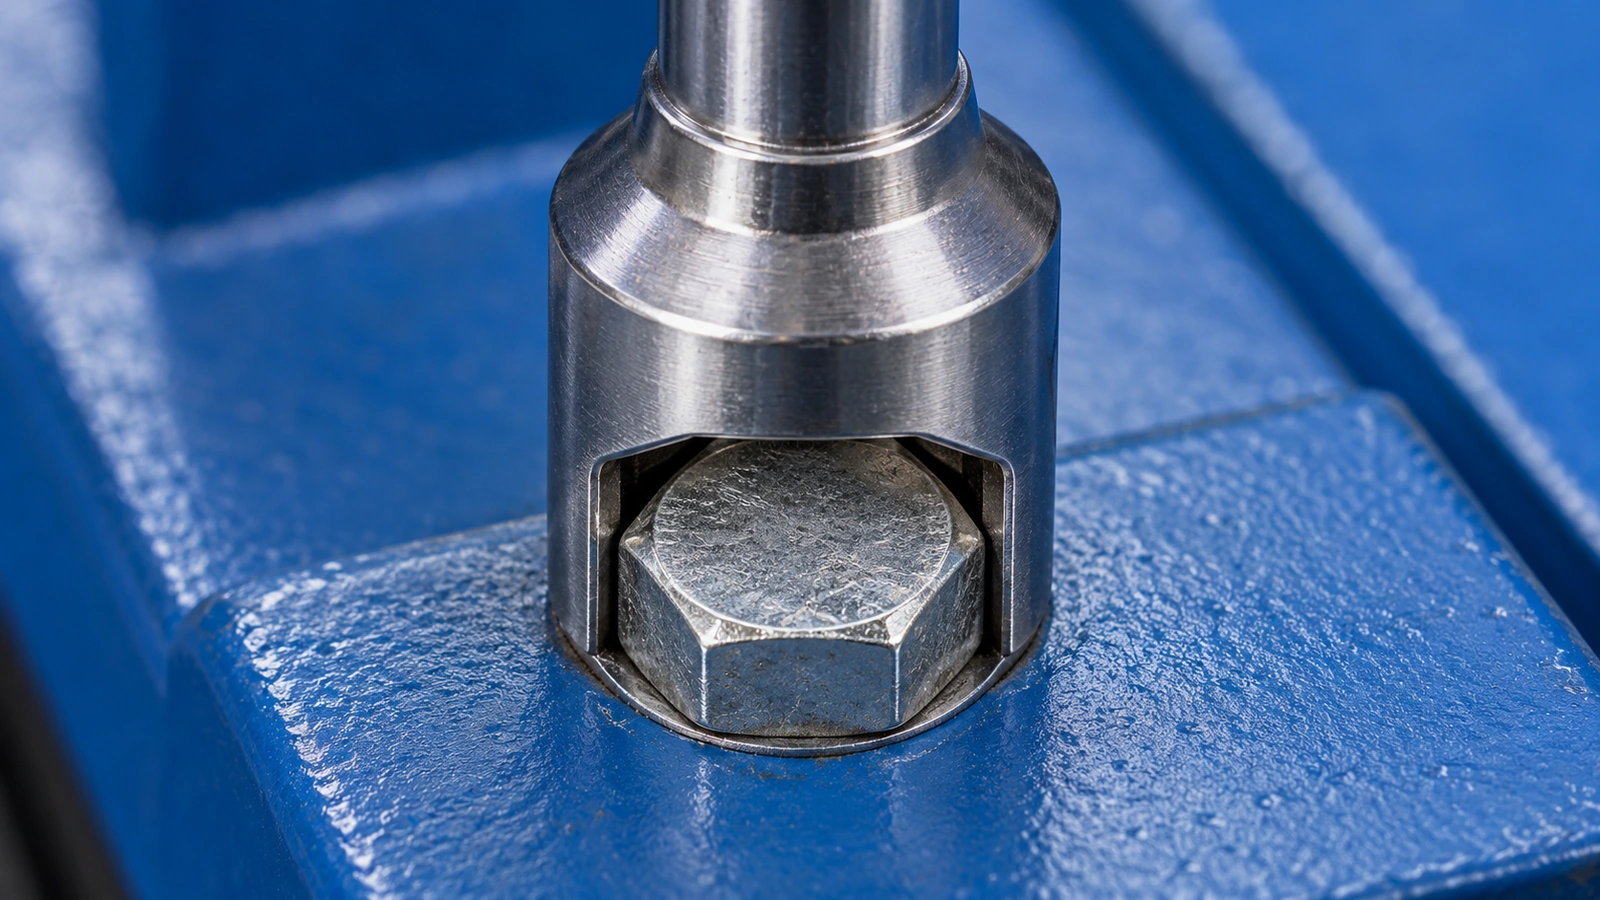
For an intact external drive on a hex head bolt, seat a correctly sized six-point socket or box wrench fully over the flats and keep the tool aligned with the bolt axis. Clean the contact surfaces so debris does not hold the socket off the head. Apply slow, steady torque and watch for movement at the joint; a small controlled reverse-and-forward movement can help break corrosion when the equipment procedure permits it.
Torque is an indirect indication of clamp load because thread and bearing friction consume much of the applied energy. NASA’s Fastener Design Manual explains this relationship, but it does not provide a universal removal torque. Diameter, material, surface finish, lubricant, corrosion, thread engagement, and the surrounding part all change the risk. Avoid inventing a torque value when the drawing or service manual does not provide one.
If the drive is beginning to round, stop normal wrenching and choose a controlled next step. A purpose-made removal socket may be suitable for an exposed head; a penetrant may be considered only after checking its safety data sheet, chemical compatibility, cleanliness rules, and ignition controls. Allow the stated dwell time and remove residue before returning the assembly to service. Do not hammer a tool onto a head when impact could transmit damage into a bearing, casting, seal, or aligned mechanism.
A hex nut and mating hex bolt must be inspected after removal.
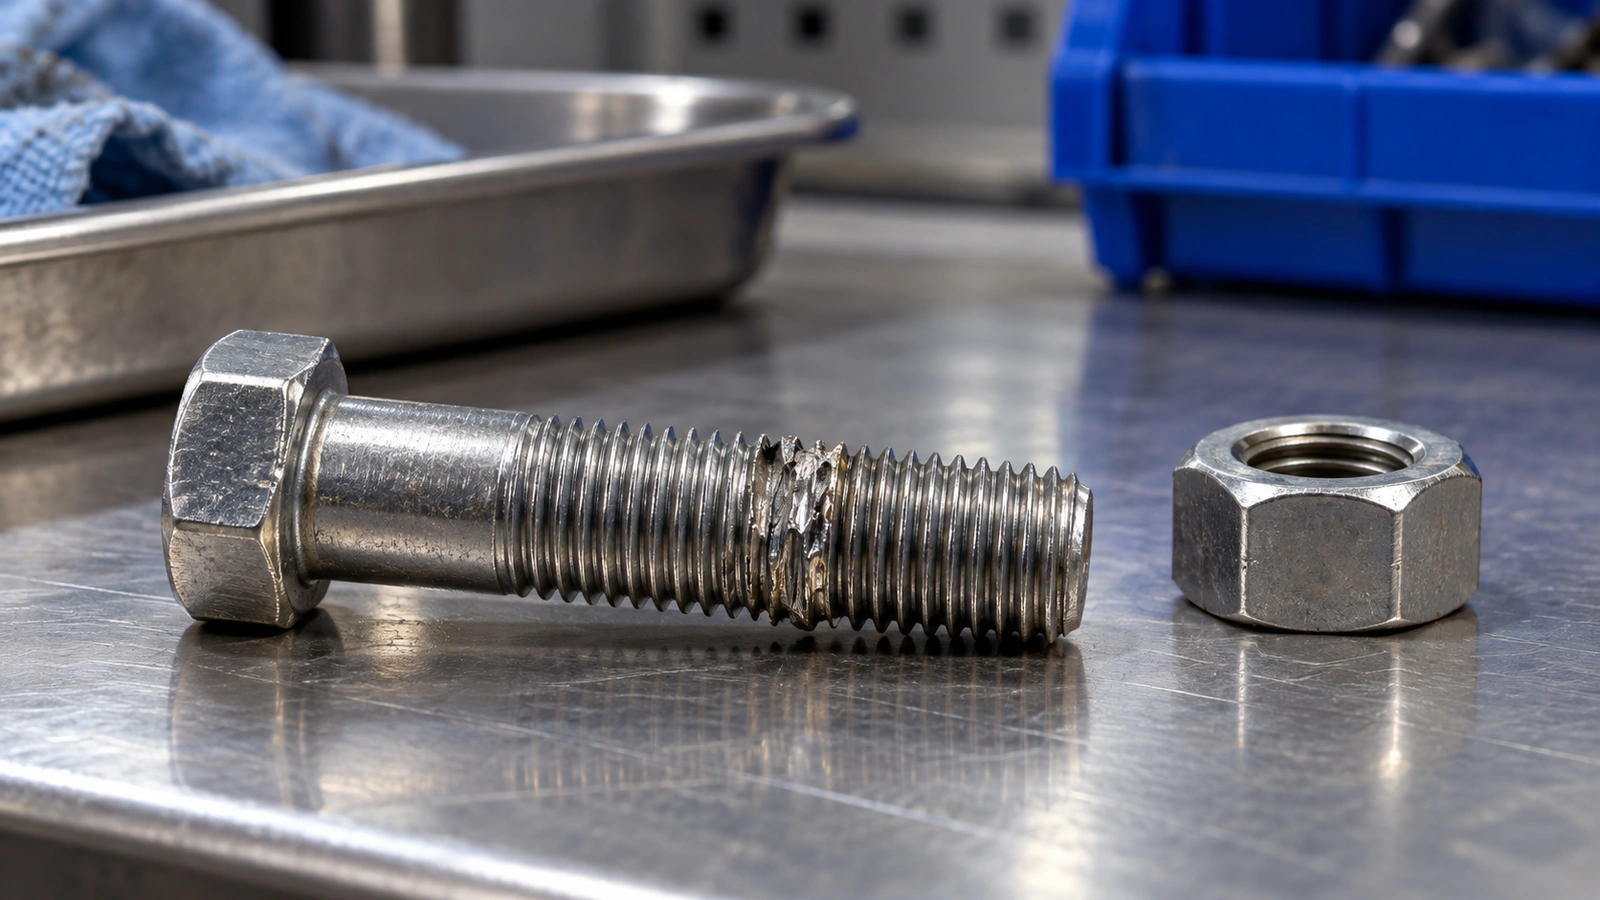
Once the fastener is out, inspect the threads in the nut or tapped hole, the bolt shank, bearing faces, washer, hole edge, coating, and nearby parent material. Look for galling, pulled threads, necking, cracks, fretting, corrosion section loss, and heat or chemical damage. Run a known-good mating component by hand only when the joint is safe and the specification permits this check; a smooth start does not replace dimensional or engineering inspection.
Replace a bolt with a rounded head, stretched shank, damaged thread, crack, severe corrosion, or uncertain history. Replace a hex nut when its thread, bearing face, locking feature, or flats are damaged. Do not dress a suspect fastener merely to make it look usable. For a tapped hole, verify thread engagement and repair authority before chasing or re-tapping; removing material can reduce the intended joint capacity.
Heat and drilling are escalation methods, not routine shortcuts. Heat can harm seals, lubricants, wiring, coatings, heat-treated properties, and nearby combustible material; it also requires an approved hot-work process. Drilling needs positive access, a verified centerline, chip containment, and a plan to protect the parent thread. On safety-critical, sealed, pressurized, hardened, or inaccessible assemblies, stop before either method and obtain an approved repair procedure.
Hex bolt removal methods should be compared by risk and total cost.
The least expensive method is usually the one that preserves the parent part and avoids a second outage, but method selection must follow the risk assessment. The table below is a planning comparison, not permission to bypass the equipment owner’s instructions.
| Method | Suitable condition | Parent-part risk | Time and tool demand | Total-cost consideration |
|---|---|---|---|---|
| Correct six-point tool and slow torque | Flats are intact and access is straight | Low when engagement is complete | Low | Usually preserves the joint and minimizes rework |
| Approved penetrant with controlled cycling | Corrosion is present and chemical controls allow it | Low to medium | Low to medium | Can avoid component removal; compatibility and cleanup add process time |
| Specialized gripping or removal socket | Head is damaged but exposed | Medium | Medium | Requires replacement hardware but may protect a costly parent part |
| Guided drilling or extractor work | Centering, chip control, and access are verified | Medium to high | High | Labor and thread-repair exposure can exceed the bolt’s unit cost |
| Engineering or specialist repair | Joint is critical, sealed, hardened, or inaccessible | Managed by approved procedure | High | Higher service cost may reduce consequential damage and downtime |
Hex head bolt dimensions and applications should guide replacement.
After removal, specify the replacement from the complete joint requirement. Confirm nominal diameter, pitch, thread length, overall length, head dimensions, material or property class, finish, washer, mating nut and access clearance. For a through-bolted connection, use the hex nut interface guide to distinguish the external bolt thread from the female thread it must engage. Do not substitute slot hardware for a hex bolt without a drawing change.
| Application or condition | Record before ordering | Escalation trigger | Replacement focus |
|---|---|---|---|
| Machine guard or access panel | Thread, length, head clearance, corrosion exposure, service frequency | Head slips or captive hardware is damaged | Correct drive size, finish, and easy inspection access |
| Outdoor or washdown equipment | Base materials, chemicals, moisture, temperature, coating | Section loss or uncertain joint load | Compatible material and documented corrosion-control requirement |
| Machined housing or tapped casting | Thread depth, engagement, counterbore, face condition | Threads are pulled or drilling cannot be centered | Approved thread repair and dimensional verification |
| High-vibration assembly | Locking strategy, preload process, inspection interval | Several fasteners show movement or fretting | Joint redesign or documented locking method, not a larger bolt by assumption |
| Structural or safety-critical connection | Load path, governing standard, traceability, installation record | Any damage, uncertainty, or load-path change | Specified assembly set and engineering approval |
The table is a procurement checklist, not a substitute for a joint calculation. A fastener can fit a hole yet fail because of insufficient engagement, incompatible materials, poor bearing, or an installation process that does not achieve the required clamp load.
Hex bolt selection should follow standards and documented compliance.
Use standards according to their scope. ASME B18.2.1 covers dimensional requirements for inch-series square, hex, heavy-hex, and l-slotted head screws; it does not certify the material, strength, or safety of every assembled joint. ISO 898-1 addresses mechanical and physical properties for specified carbon-steel and alloy-steel bolts, screws, and studs. The NASA manual provides engineering guidance on fastener design and joint behavior. None of these references turns a head shape into a universal removal limit or a blanket certification.
On the purchase order, state the standard edition, thread system, size, length, material or property class where applicable, finish, mating components, and inspection basis. Request the documents needed for the destination market and application, such as dimensional results, material evidence, lot identification, or a defined test report. Keep a test method, a product specification, and an assembled-joint approval separate; unsupported claims can lead to rejection, rework, warranty disputes, or unsafe substitution.
Buyers should specify each hex bolt and hex nut before sourcing.
- Make the joint safe. Isolate energy, support the load, and confirm the approved removal sequence before tools are applied.
- Define the interface. Record thread system and pitch, diameter, length, head dimensions, access, washer, and mating nut or tapped hole.
- Set the removal boundary. Identify when tool slip, movement, heat, drilling, or parent-part damage requires escalation.
- Control the replacement. Specify material, finish, property class or grade where applicable, locking approach, and required evidence.
- Compare total cost. Include downtime, specialist labor, thread repair, inspection, replacement access, and inventory impact rather than unit price alone.
Qiyi Fastener can be considered when a buyer needs a defined industrial fastener configuration and a requirement-led sourcing discussion. Use the Qiyi hex bolt and fastener catalog as a starting point, then confirm exact availability, dimensions, material, finish, quantity, and documentation against the drawing. Do not substitute a visually similar part without reviewing the complete joint.
These questions clarify how to remove a hex bolt safely.
What is the difference between a hex nut and a hex bolt?
A hex bolt is an externally threaded fastener with a six-sided external head; a hex nut is internally threaded and is tightened onto a mating bolt or stud. A bolt may also thread into a tapped hole, so the practical distinction is the external versus internal thread and the joint arrangement. Confirm thread system, pitch, dimensions, and the complete assembly before selecting a replacement.
What is the difference between a hex head screw and a hex head bolt?
In common industrial usage, a hex head screw often threads into a tapped hole, while a hex head bolt commonly passes through a clearance hole and is secured with a nut. Terminology varies by standard, drawing, and supplier, so the name alone is not decisive. Specify the thread length, head dimensions, material or property class, and mating hardware.
What is a hex head nut?
“Hex head nut” is informal wording for a nut with six external flats that provide wrench access; catalogs generally call it a hex nut or hexagonal nut. The six-sided form does not define its thread pitch, thickness, material, locking function, or strength. Use the applicable dimensional and material specification when ordering.
What is a hex head bolt?
A hex head bolt has an externally threaded shank and a six-sided head intended for a wrench or socket. Its fit and performance depend on thread, length, head dimensions, material, finish, joint design, and installation method. A damaged head should be removed with a controlled process and the replacement should be specified from the joint requirement.
These references support safe hex bolt selection and removal.
- NASA Fastener Design Manual — Engineering guidance on threads, preload, washers and joint design.
- ASME codes and standards catalogue — Look up the named B1 and B18 standard and specify the required edition; the catalogue is not a product certificate.
- NASA-STD-5020, Requirements for Threaded Fastening Systems in Spaceflight Hardware — Spaceflight-specific design and analysis requirements; contextual engineering reference, not a requirement for ordinary industrial fasteners.
A hex bolt comes out safely when the team controls energy, engagement, escalation, and replacement evidence; more force is never a substitute for a defined process.
For a drawing review or sourcing discussion, contact Qiyi Fastener with the application, thread, dimensions, material, finish, quantity, and documentation requirements.